

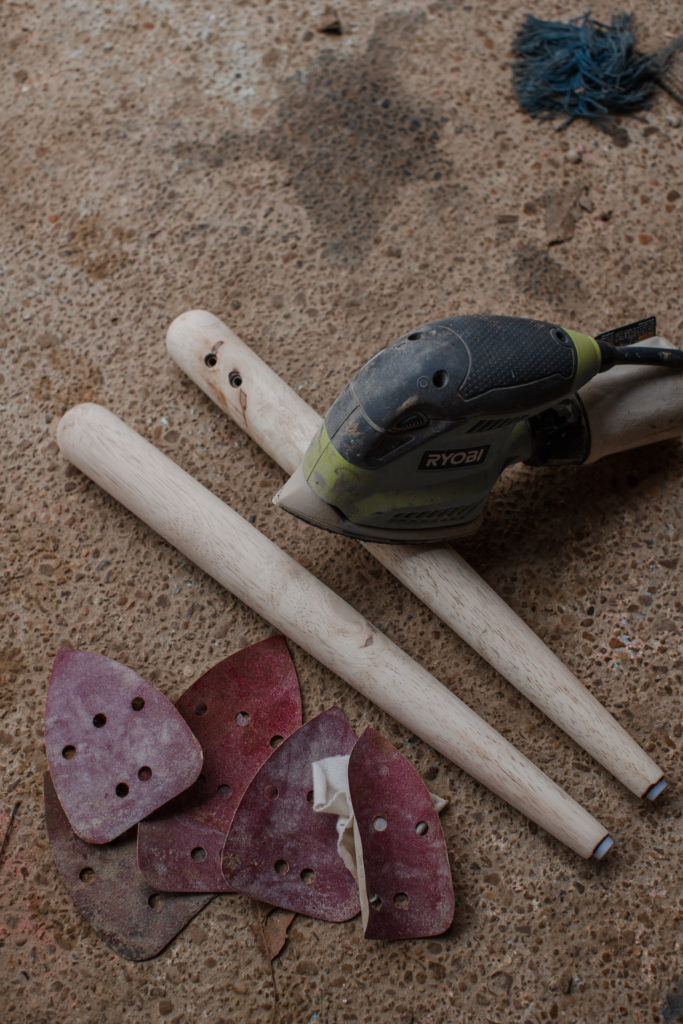
Since I have been working on these chairs for what seems like forever now, I thought it would be helpful if I could give you some best tips for sanding to help you out and save you some time on your next project! In order for me to provide you with the best tips, I asked a local woodworking expert, Mark, for any tips he could give us on sanding. Mark has been woodworking for decades. He got his passion from his dad who was an incredible woodworker and can build anything. Cabinets, doghouses, decks, you name it. He shares the best sanding tips below.
Best Tips for Sanding

- Start with the correct grit.
- Never start too heavy or you’ll have swirl marks that will take FOREVER to get out. This only gets worse on harder woods. Only use heavy grit (60 and lower) if you have a very stubborn finish.
- Progressive sanding is best.
- You can start with an 80 grit and work to a 220. The lower the number grit, the rougher your sanding surface is. If you are staining, make sure you test your color at 120 grit. Depending on the wood, the finer you sand, the less stain the wood will soak up because you are making it less porous. If you are painting, 120 grit is just fine.
- Soft and smooth is the way to go.
- Never bear down too hard in one area. Your finish will show. Long, smooth moves will get you the most uniform finish. It may take longer this way, but you will get out what you put in.
WHAT I LEARNED
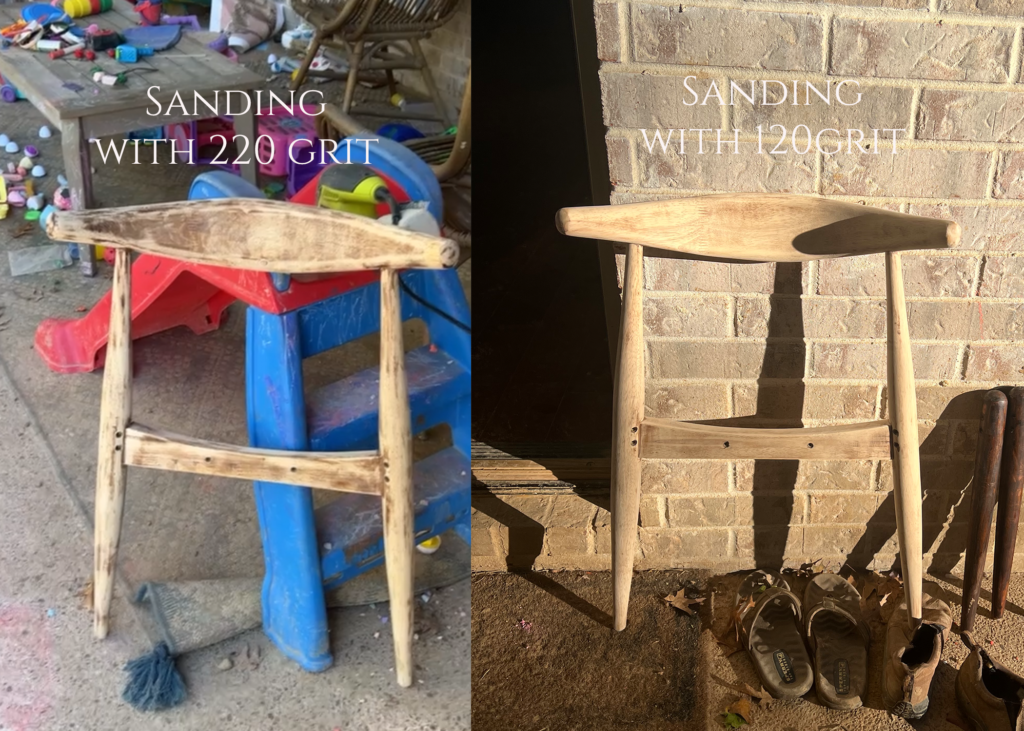
I really wish I would have taken Marks advice BEFORE I started sanding my chairs. I was smart (sarcasm) and started with 220 grit and was getting SO frustrated when I wasn’t making much progress sanding things down to bare wood. I thought that if I stained over it in a darker color, that it would cover up the discolored spots where I didn’t fully sand it down, and boy was I WRONG! Because of this, it took me 10x longer to get to bare wood and I ended up getting really frustrated and didn’t sand it completely down. On the next chair, I lowered the grit to 120 and I was able to sand down to bare wood MUCH quicker this way.
Another thing I learned was that I need to change the sanding pads out quicker. I know it feels very wasteful to go through sanding pads quickly but that was key for my success. After awhile, the sanding pad gets dull and ends up being too smooth to get to bare wood. I noticed after about 2 legs or 15 minutes of sanding, it was time to change the sandpaper.
And last, ALWAYS, ALWAYS, ALWAYS sand to bare wood if restaining is your end goal. All those uneven spots WILL show in your final finish if you don’t. Staining over an unsanded area will not cover that up. Ask me how I know!
Please give Mark a follow on Instagram at @the_front_porch_woodcrafter for learning all things woodworking!


Where we discuss all things design, obviously.
DESIGN
Browse Category
For more of our latest projects, follow along on instagram at @hayden_interiors
© Hayden interiors 2021 | design & Photos by Sara Hayden
Intentional Design for Beautiful Spaces
Jackson, Tennessee
+ Show / Hide Comments
Share to: