

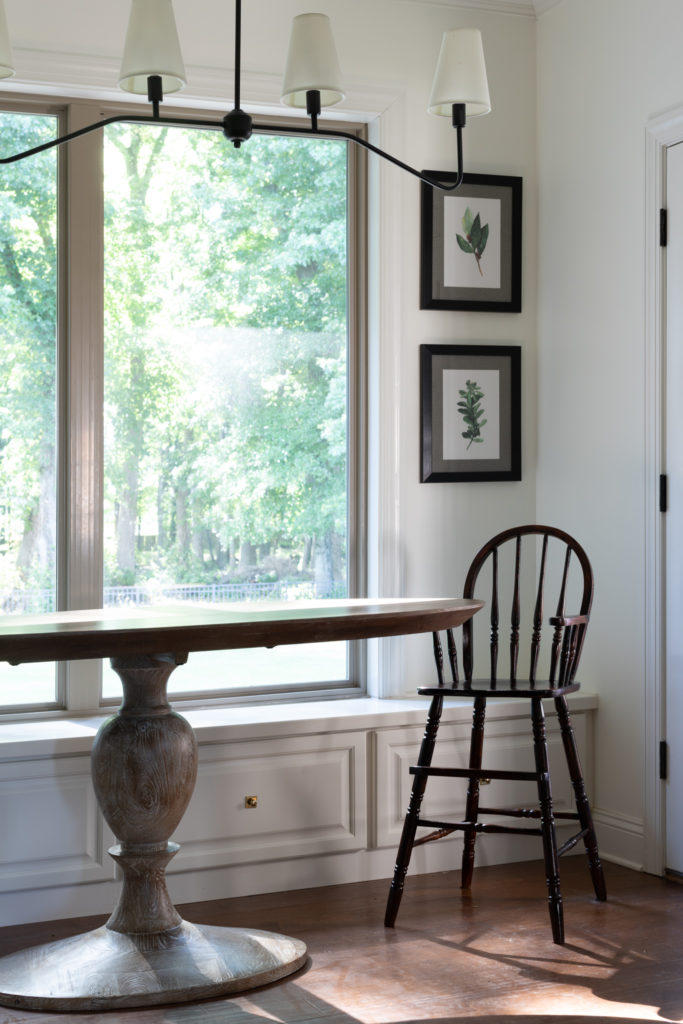
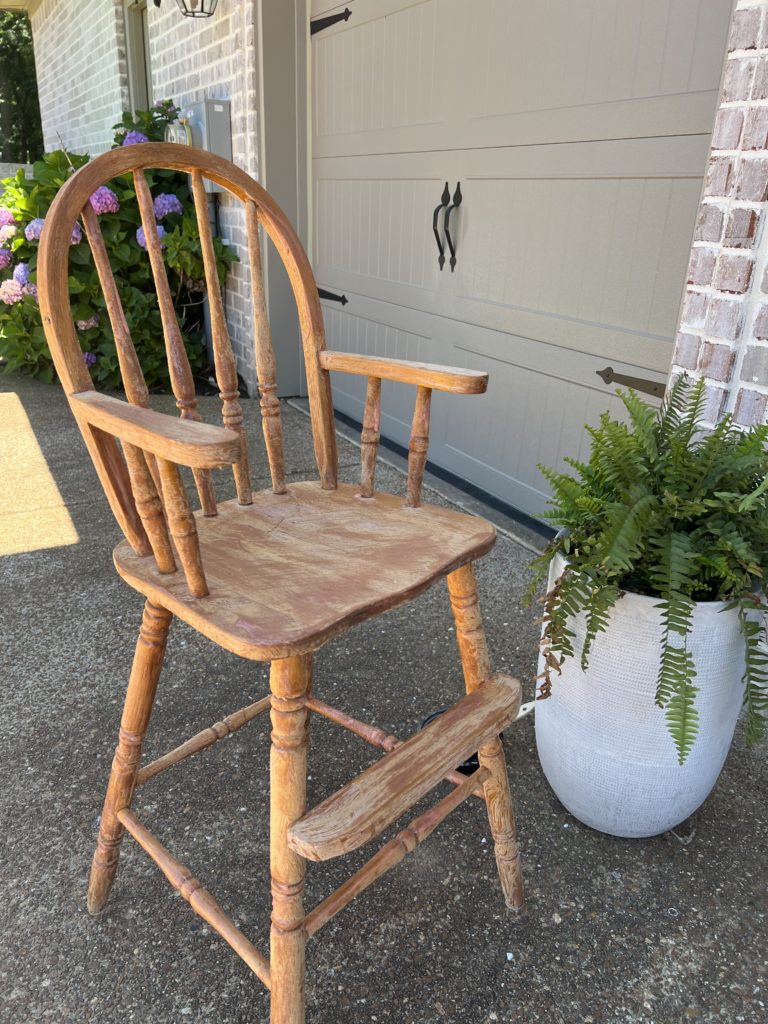
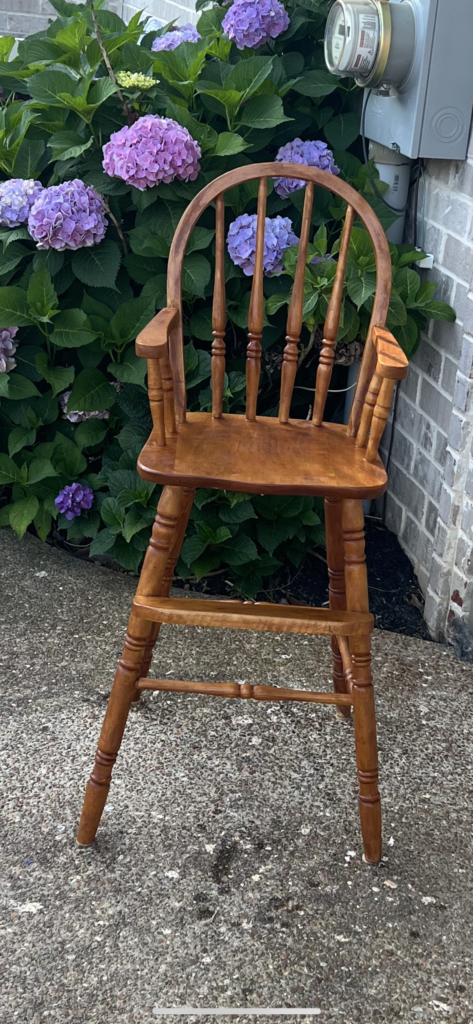
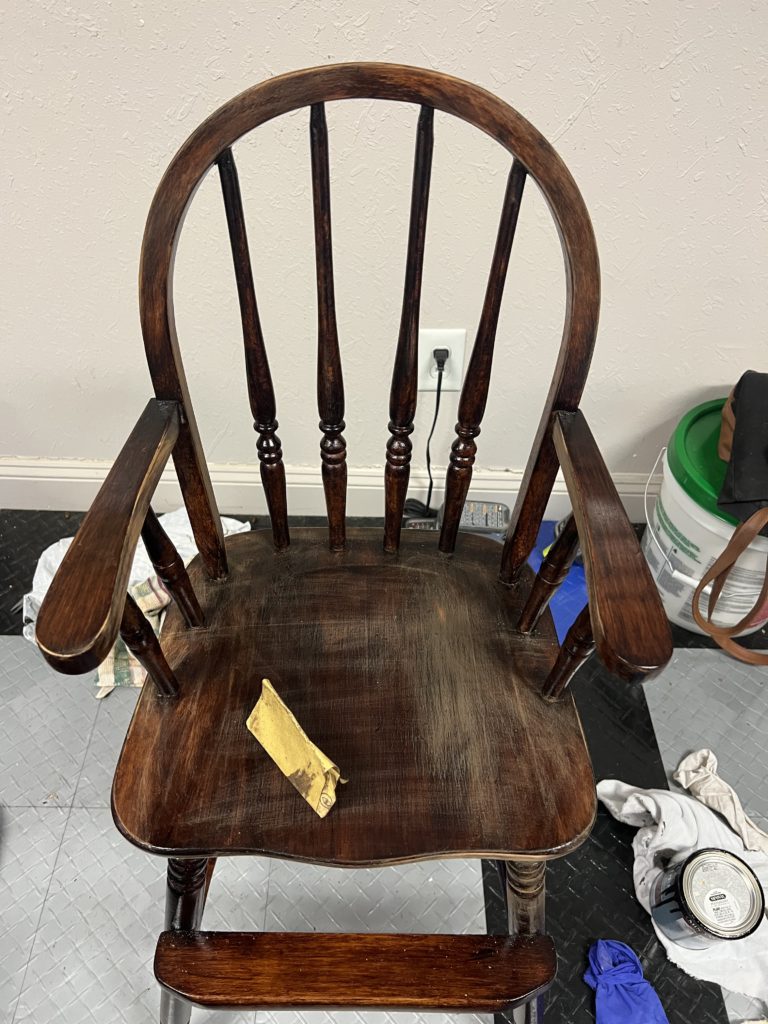
Today I am so excited to share with you my “new” DIY highchair makeover. Some big changes were needed in our breakfast nook ever since we got our new breakfast table. First of all, the table top was made thicker than our current table so Mia’s screw on table chair won’t work anymore. I’m really not sad about it because it was always dirty and it wasn’t the prettiest thing to look at. I was ready for Mia to sit at the table with us so I was on the lookout for something she could sit and slide up to the table just like us.
I looked on facebook marketplace and to my surprise there was one for sale here in town for $25! I was surprised how quickly I found one! I wasn’t in love with the color, but knew with a little bit of work, life could be restored to it.
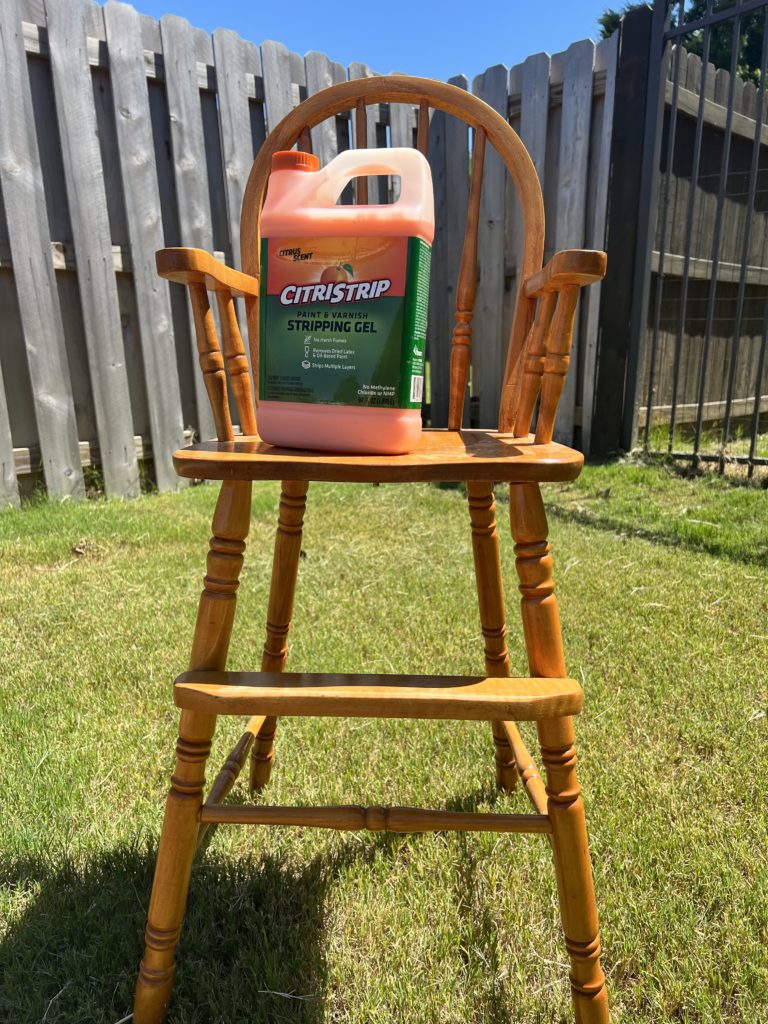
Read the steps below to see how I restored this old looking highchair into the highchair of my dreams!
SUPPLIES: For Stripping
- Clean Rags
- Mineral Spirits
- Paint Brush
- Plastic Putty Knife
- Wire Brush
- Citristrip
- Afterwash
SHOP HERE

Disclaimer: This post contains affiliate links. I may receive a small comission for purchases made through these links at no extra cost to you. Just click on the bold links.
SUPPLIES: For Refinishing
- Clean Rags
- 000 Steel Wool
- Pre – Stain wood conditioner
- 220 Sanding Paper
- Mineral Spirits
- Minwax Polyshades (stain + sealer)
- Purdy Brush
SHOP HERE
Disclaimer: This post contains affiliate links. I may receive a small comission for purchases made through these links at no extra cost to you. Just click on the bold links.
STEPS FOR STRIPPING
STEP 1
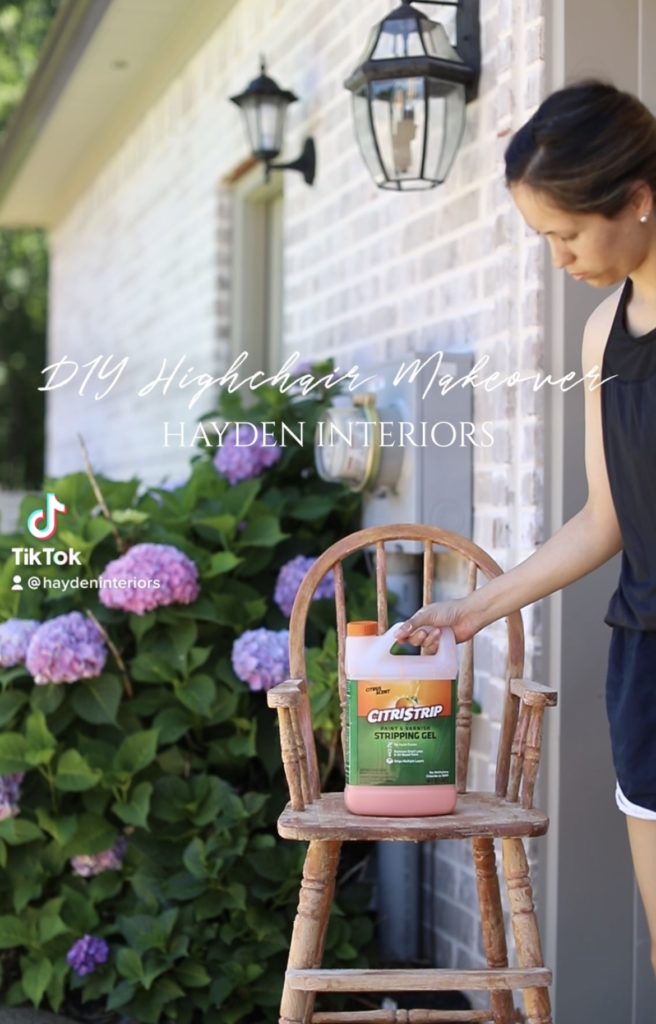
Pour your citristrip into a plastic bowl and apply to furniture with a paint brush. This step is best to use with gloves. Follow directions according to bottle. There were two keys to my success with this product. #1 was to make sure I applied THICK coats. The more you apply, the better it seems to scrape off. I have used the plastic wrap method where you wrap in plastic wrap and leave overnight (to ensure furniture stays wet) in the past and I did not have success so I cannot recommend doing that but I’m sure it still works. The #2 key to my success was patience in wait time and applying multiple coats. After the first coat, it was a lot easier to see what areas were stripped and what areas still had the existing varnish. For the first coat, I let it sit 45 minutes before moving on to step 2. For my third coat, I let sit at least 3 hours before scraping off.
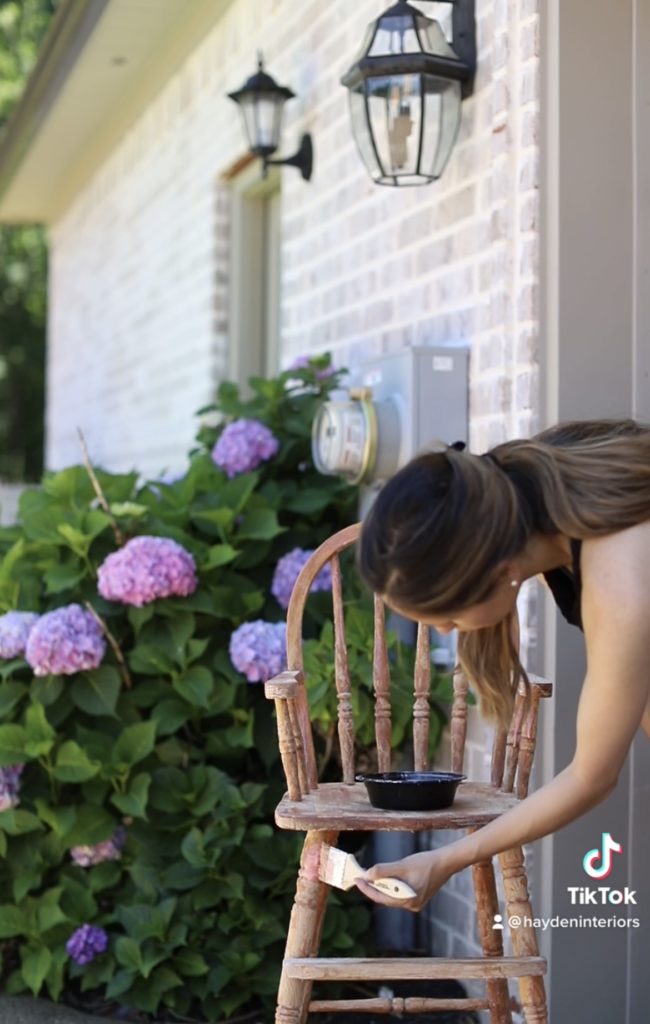
STEP 2
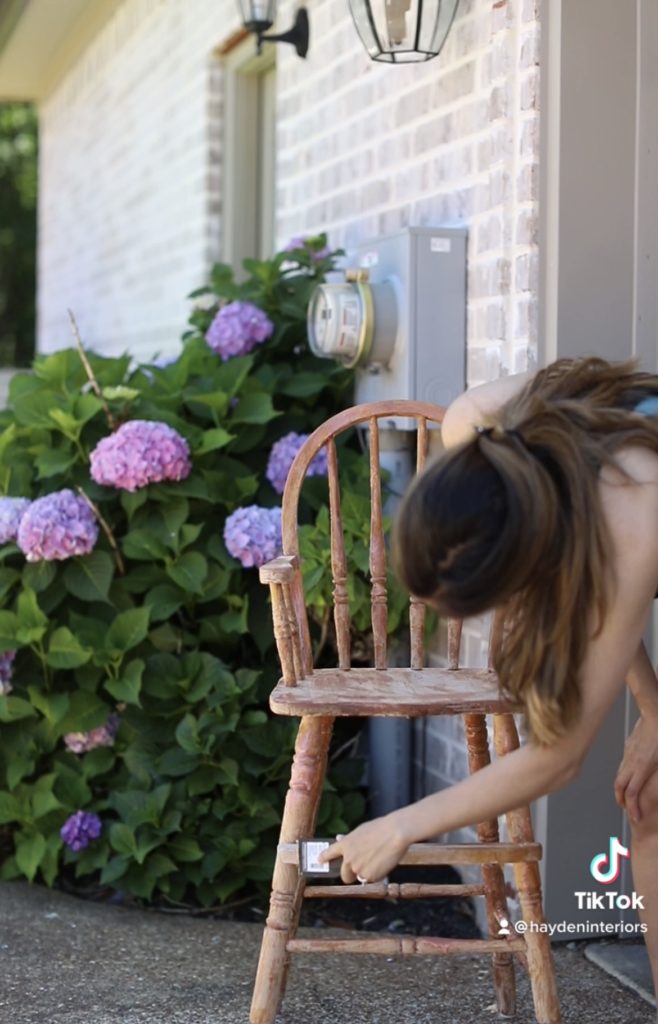
Using your putty knife and wire brush, remove as much of the citristrip as possible. You’ll know it is time to start scraping when your application has dried and started looking flaky. Even if the citristrip has dried completely, that doesn’t mean it all comes off in one coat. You may have to apply a second coat in stubborn areas. As stated earlier, I waited several hours after applying my second coat before attempting to remove the citristrip.
STEP 3.
Use afterwash to remove any existing residue from the chairs. I forgot to mention this in supplies, but I took an old toothbrush and used that to get gunk out of the small crevices.
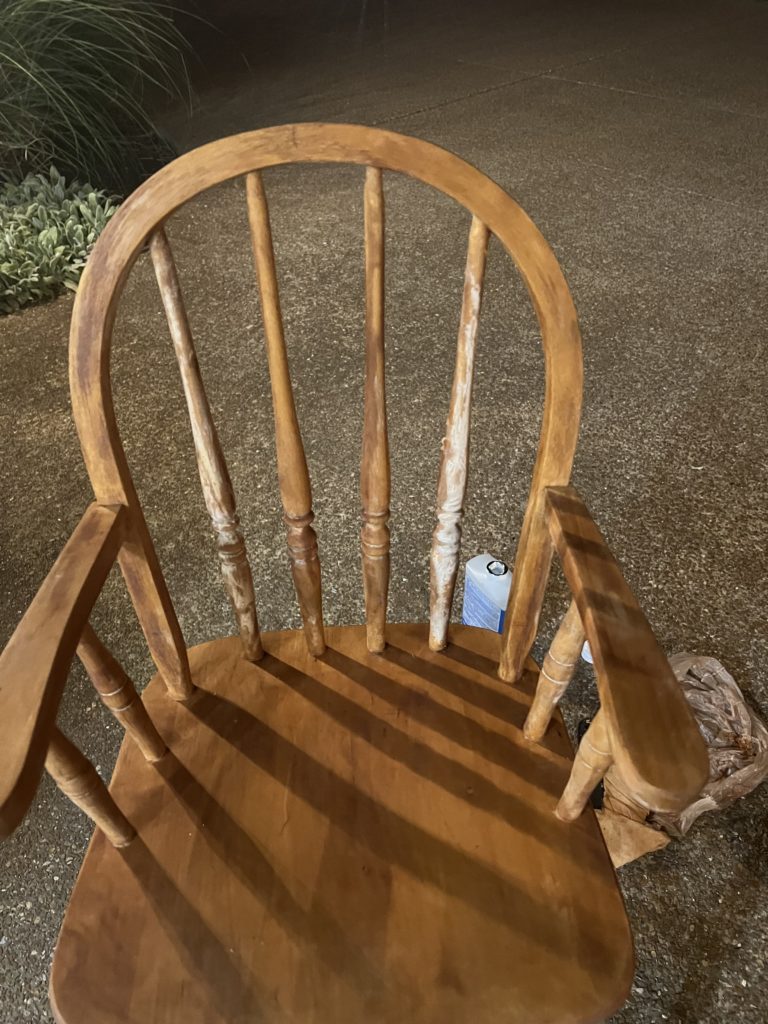
STEP 4
Use a clean rag and mineral spirits to prep for painting/staining. Once everything dries, usually a few hours, you are ready for refinishing or you can leave it as exposed wood which is a really trendy look right now!
STEPS FOR REFINISHING
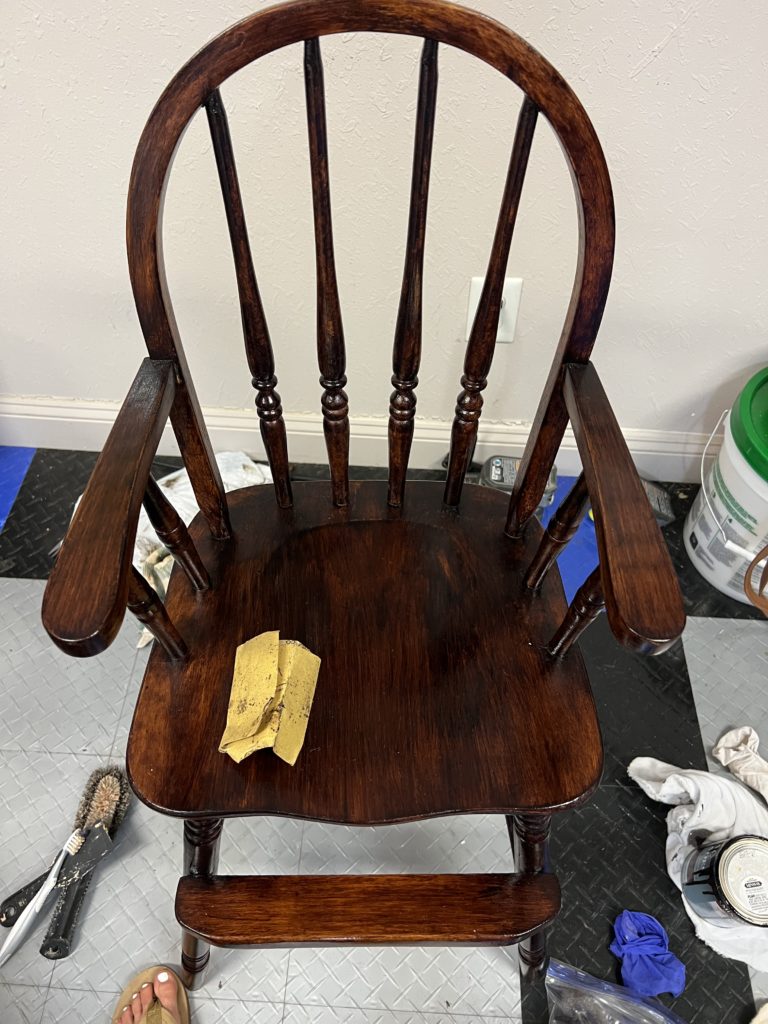
This part took me the longest mainly because I kept getting brush bristles or dust on my piece. I guess it would probably be best to work in a clean environment, but that’s just not possible around here these days! I used minwax polyshades because it had a stain + sealer combined and would save me time. I think there are pros and cons to using polyshades. Pros: save time. Cons: you have to apply many, THIN THIN, THIN coats for the best finish. (It’s actually really hard to apply thin coats on a piece with lots of intricate curves and detail work.)Looking back I probably should have just used stain and sealer separately because I don’t think my finish work is that great.
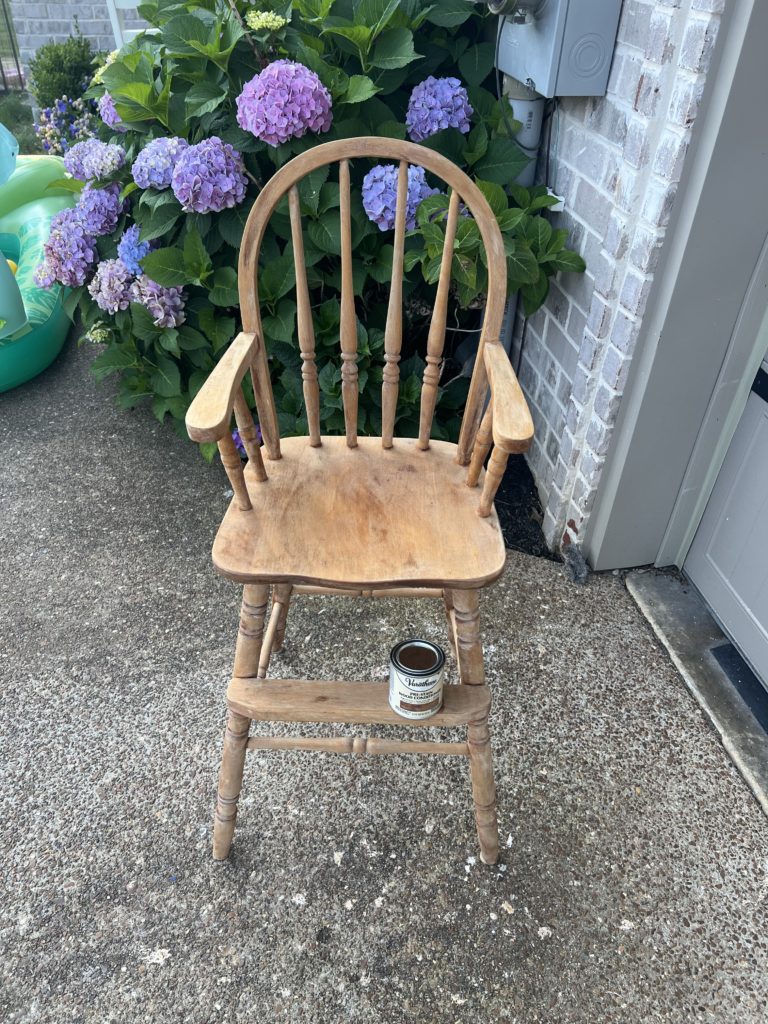
STEP 1
To begin: clean and wipe your furniture piece with a clean rag. I applied a light sanding with 220 grit to the entire piece and then used Varathan Pre conditioner to ensure an even finish. I do not think this step is necessary, but it certainly doesn’t hurt.
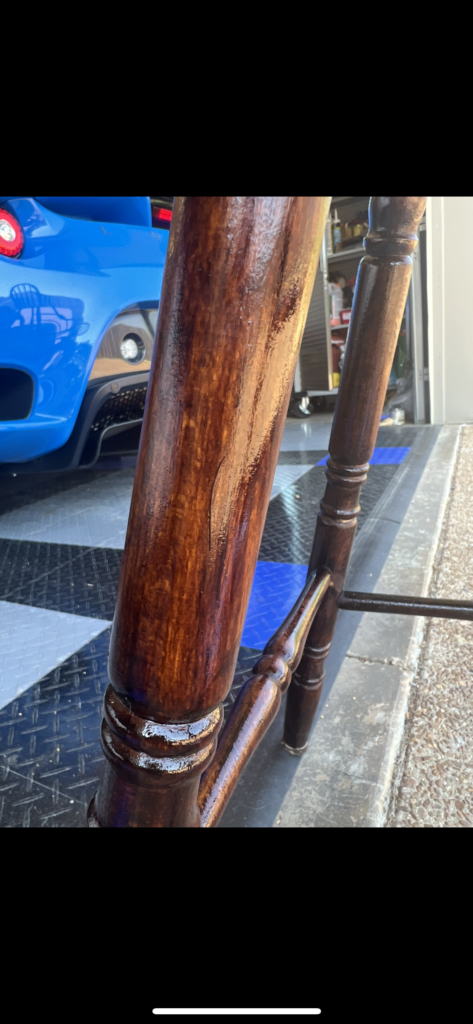
STEP 2
Using a purdy brush, apply your polyshades in the stain color you want. I used mission oak for it’s dark, rich color. There is a technique to this and I will admit it took a lot of messing up before I realized how to do it. You have to apply VERY thin coats. It is a delicate balance between coating your brush with enough stain but not coating the furniture too much and causing drips. Just aim on the side of caution and know that less is more. It is a lot harder to use this product on intricate details, such as a highchair. I can see this working extremely well for a table or something.
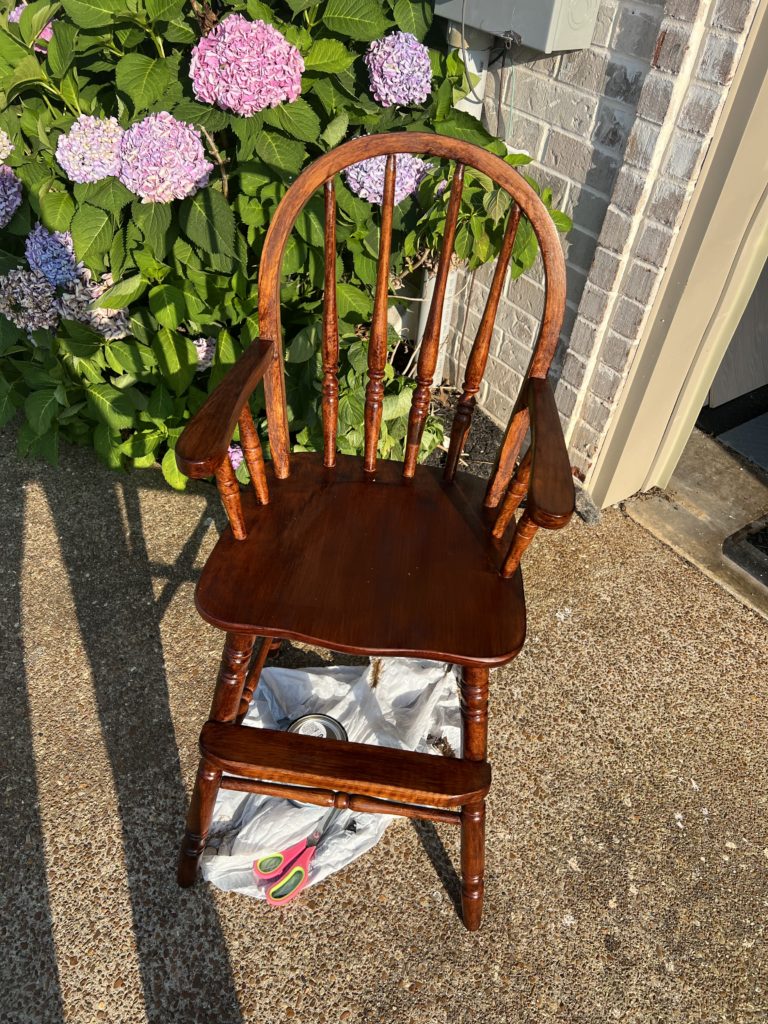
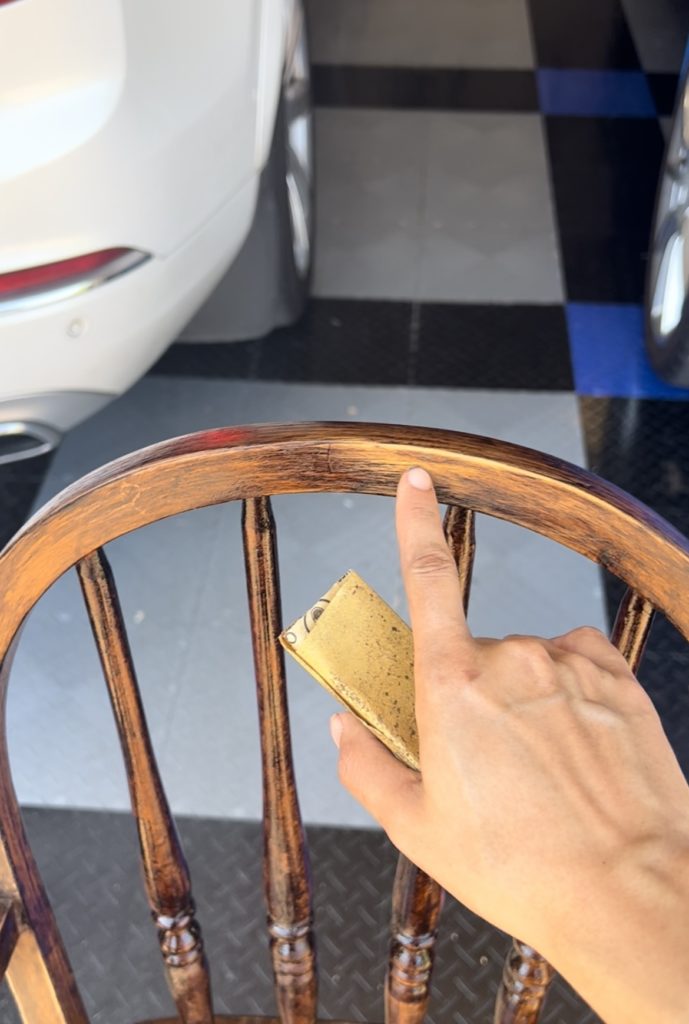
PRO TIP: work in natural light or daylight. This will help you see when bristles or dust gets on it. If you just brushed it on, sometimes you can quickly remove it without getting everything tacky. This stuff starts to set pretty quickly so it’s best to work fast.
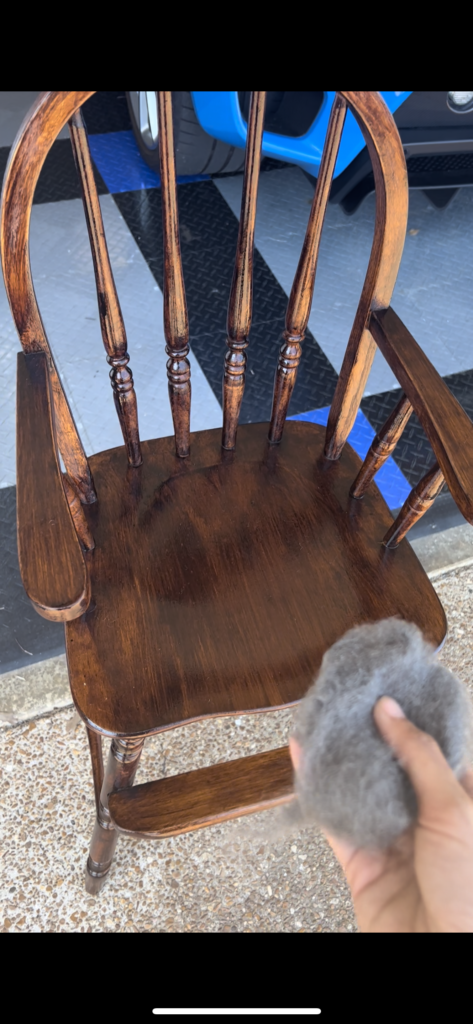
STEP 3
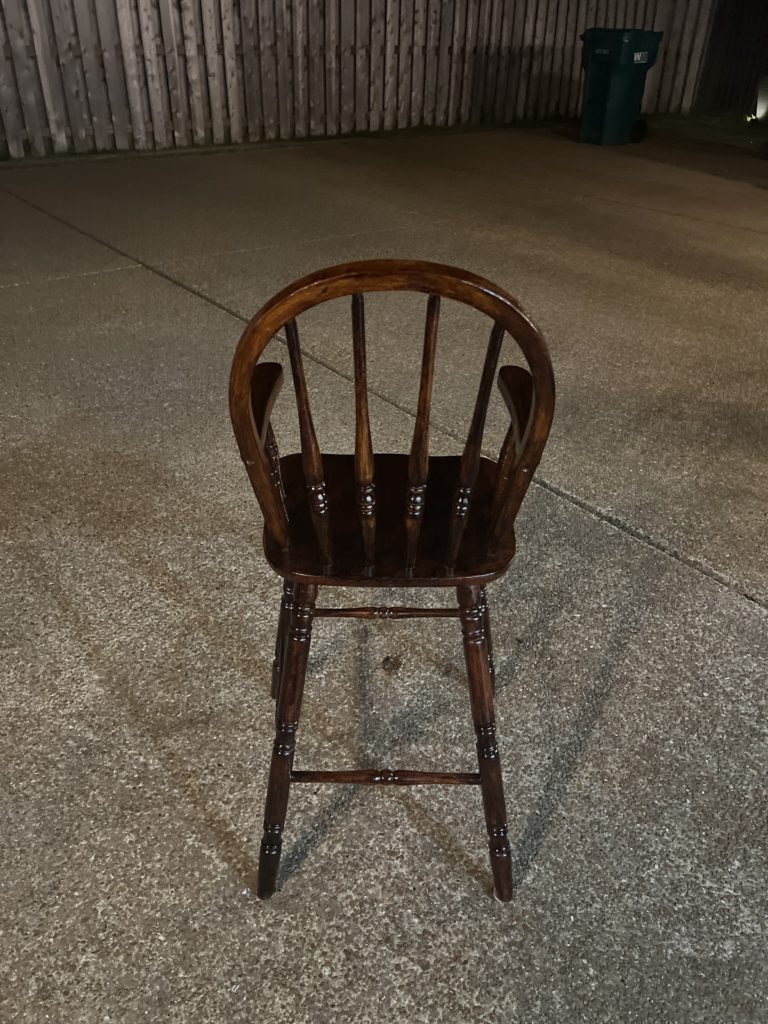
Wait six hours before applying second coat. Before recoating, lightly run your steel wool over it to remove any imperfections on the surface. Sand down any areas with paint drips, brush bristles, or imperfections. Recoat in 6 hours. Do this until you are happy with the outcome. It took me roughly 6 or 7 coats because I kept getting hair and dust onto my piece. According to the can, 3 coats minimal for best waterproofing.
I was really getting bummed out about each little imperfection and Will had to remind me that this is JUST a highchair. Mia is probably going to scratch this up and dent it and spill food on it and it’s going to be okay. It helps to see the bigger picture when I get really in my head like that over the details.
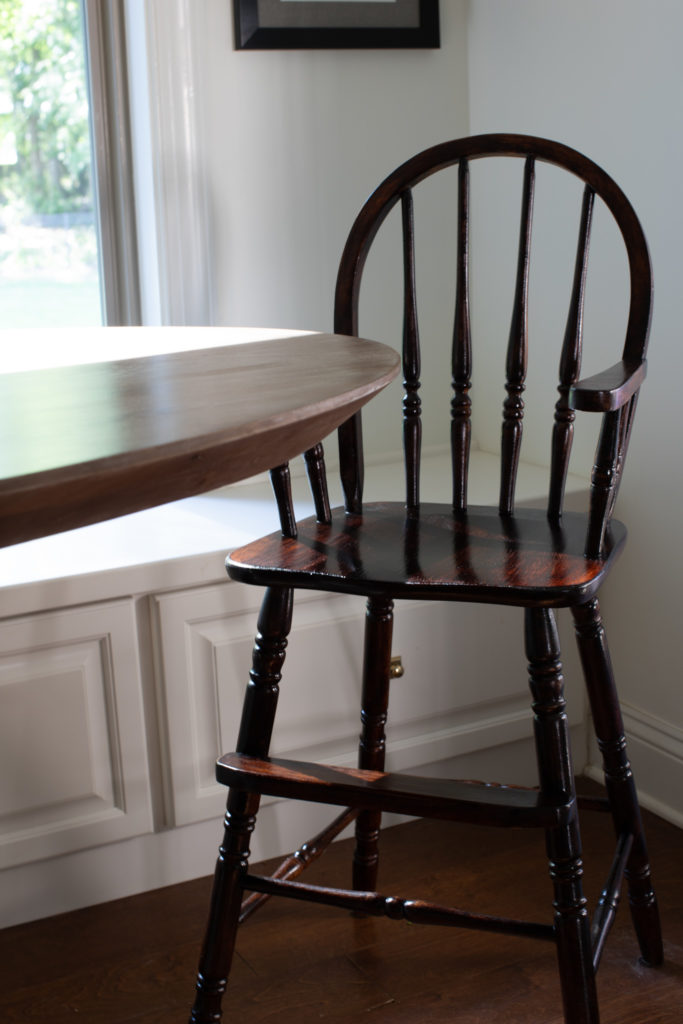
All in all, I’m very happy with it and excited to see her eat from it. If you are a visual learner like myself and would like to see a video of the process, I have one on my instagram linked here. Let me know if you have any questions or decide to try this!


Where we discuss all things design, obviously.
DESIGN
Browse Category
For more of our latest projects, follow along on instagram at @hayden_interiors
© Hayden interiors 2021 | design & Photos by Sara Hayden
Intentional Design for Beautiful Spaces
Jackson, Tennessee
+ Show / Hide Comments
Share to: