

Today, I’m sharing our powder bathroom window treatments. This is still a very fresh decision, meaning I just pressed purchase on the materials not even 72 hours ago so technically I still have time to change my mind, right?! I have thought about this decision a lot over the past couple months so you would think this decision would be easy for me. Some things seem to come more naturally to me than others. Picking paint colors- easy. Picking a wall treatment- easy. Finding patterns and picking fabric-easy. But picking window treatments? Harder than organic chemistry!
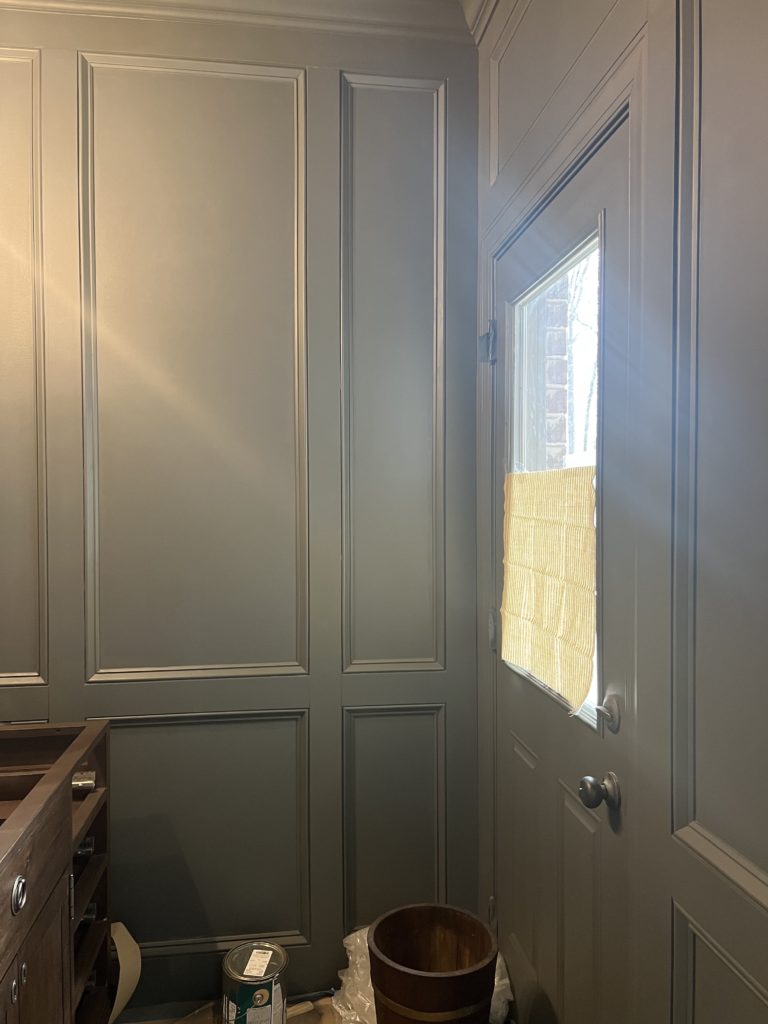
My problem with this window in our powder bathroom is that it’s actually a window on a door leading outside to our backyard. I guess when the builder built the house ,they designed it in a way that if we were to ever install a pool, we could make that the pool bathroom. Normally I don’t think bathroom windows are on doors leading outside so I think I’m more limited on what I can do in here. At least that is how I’ve felt! I couldn’t find any inspiration pictures out there that had bathroom doors with windows on them! Crazy! Maybe I’m overcomplicating this, but let me just explain my thought process and how I finally came to a decision.
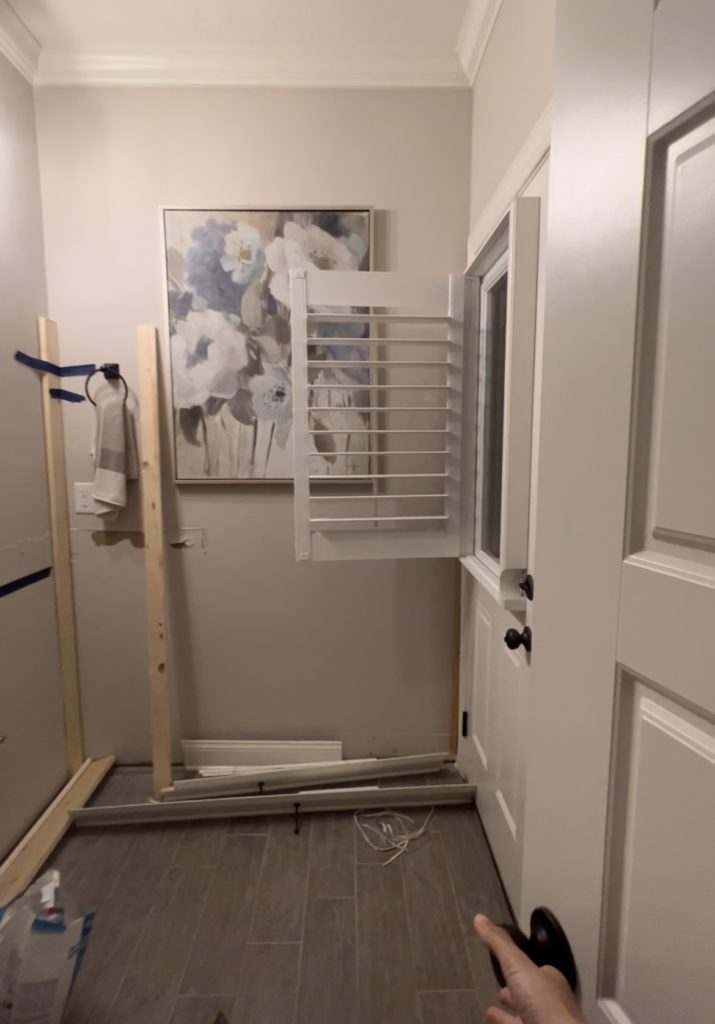
When we moved in 4 years ago, we had plantation shutters installed in here because honestly we didn’t really know what else to do. It worked for the time and I would be fine with them but they aren’t ideal. We could never keep the shutters open because when they were, we lost privacy while using the restroom. So they stayed closed 99% of the time and I found myself constantly opening them behind Will to allow as much light as possible in there. Now that we have a chance to start over, I’m wanting to do something that makes more sense for us!

I knew I wanted to try and keep as much natural light as possible. The bathroom is SO dark now with the new paint so having any extra light will help that room out. In order to keep light but still have privacy while using the bathroom, I thought about adding a cafe curtain. It could cover the lower portion of the window giving us privacy, but allowing as much natural light as possible through the top. The problem is I hadn’t really seen cafe curtains that were used on doors. I searched the internet high and low and couldn’t really find anything that pertained to our unique situation. I ran it by Will and, although he wasn’t completely sold on the idea, he said to just go for it.
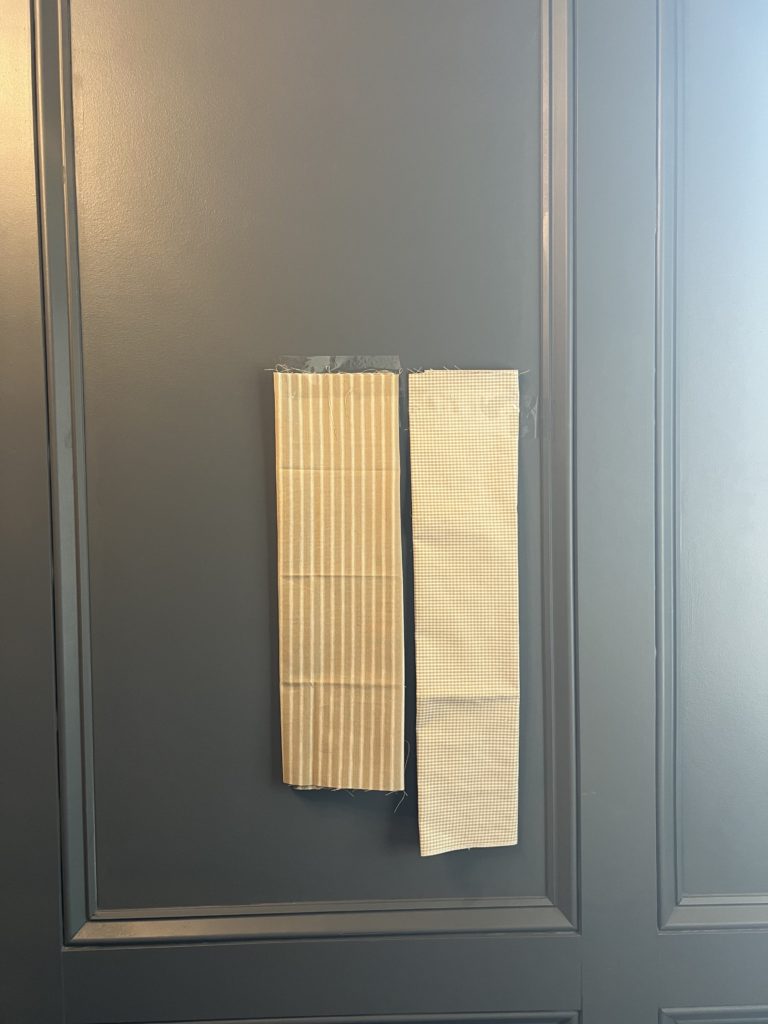
I spent one Thursday while Mia was in mother’s day out picking out fabrics. I had narrowed it down to two pretty easily. Picking the final fabric wasn’t really all that hard. Will surprisingly liked the one I didn’t think he’d like better! Can you guess which one I chose?!
Do you ever have these moments when you can’t decide on something because they are both so good?! It’s like trying to decide between pizza or ice cream. To decide, I taped them both up to the wall in natural daylight. I stared at them up close. Love the check better up close because it added a touch of feminity to the space. I decided to stare at them at a distance. Wow. I couldn’t even see the check pattern anymore. It looked just like a faded white piece of cloth… why get a pattern if you can’t even see it from 5 feet away? So I decided on the ticking stripe and never looked back!
PRO TIP: if you are ever deciding between two fabrics, paint colors, etc, try to step back and see it at a distance. Then try and snap a picture on your camera or phone to try and see if from another point of view. It helps me a lot and actually 100% solidified my decision.
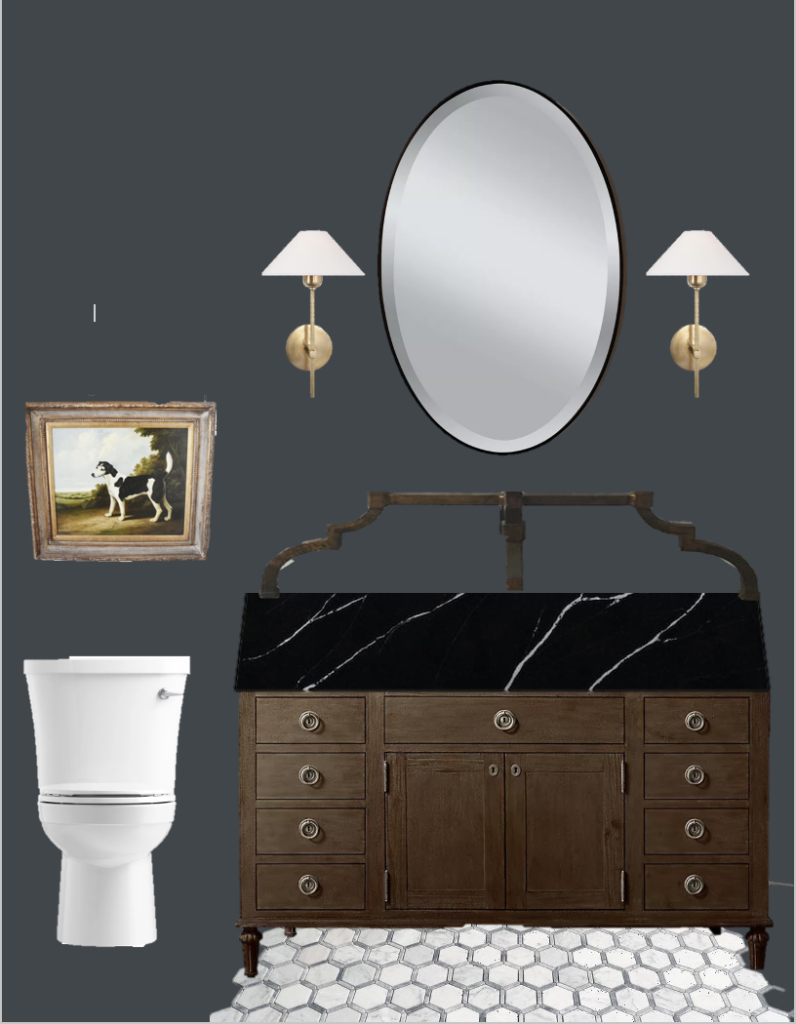
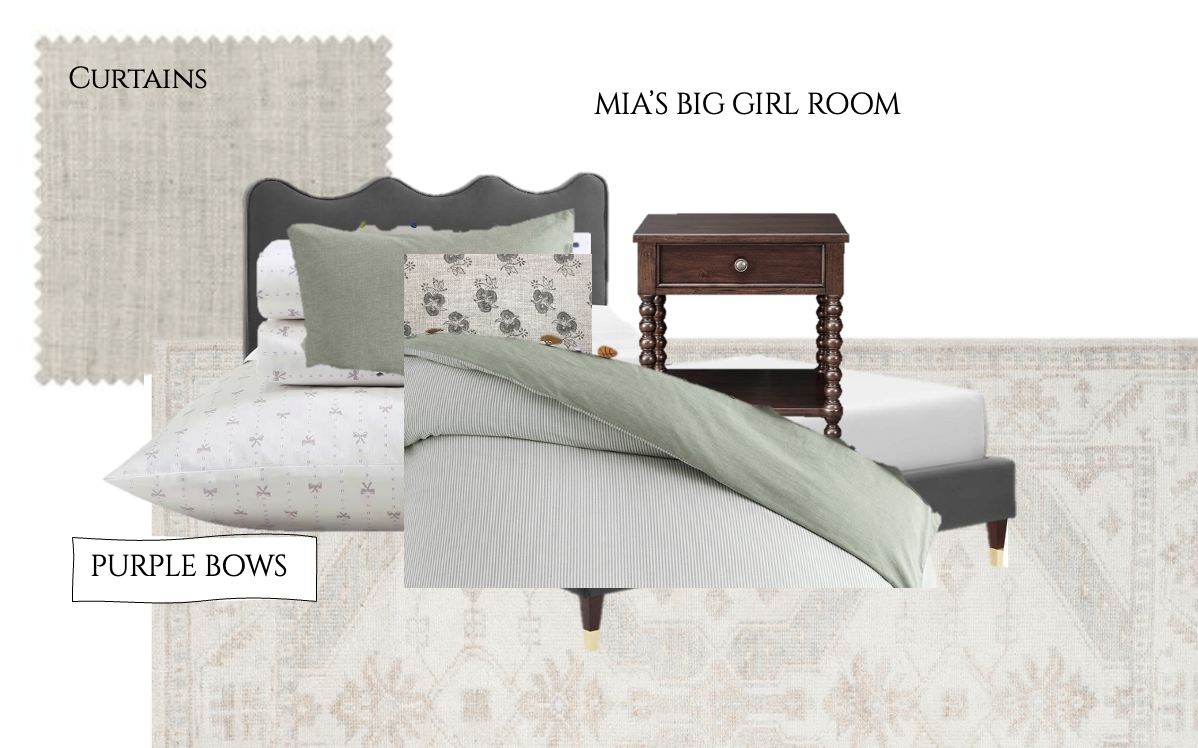
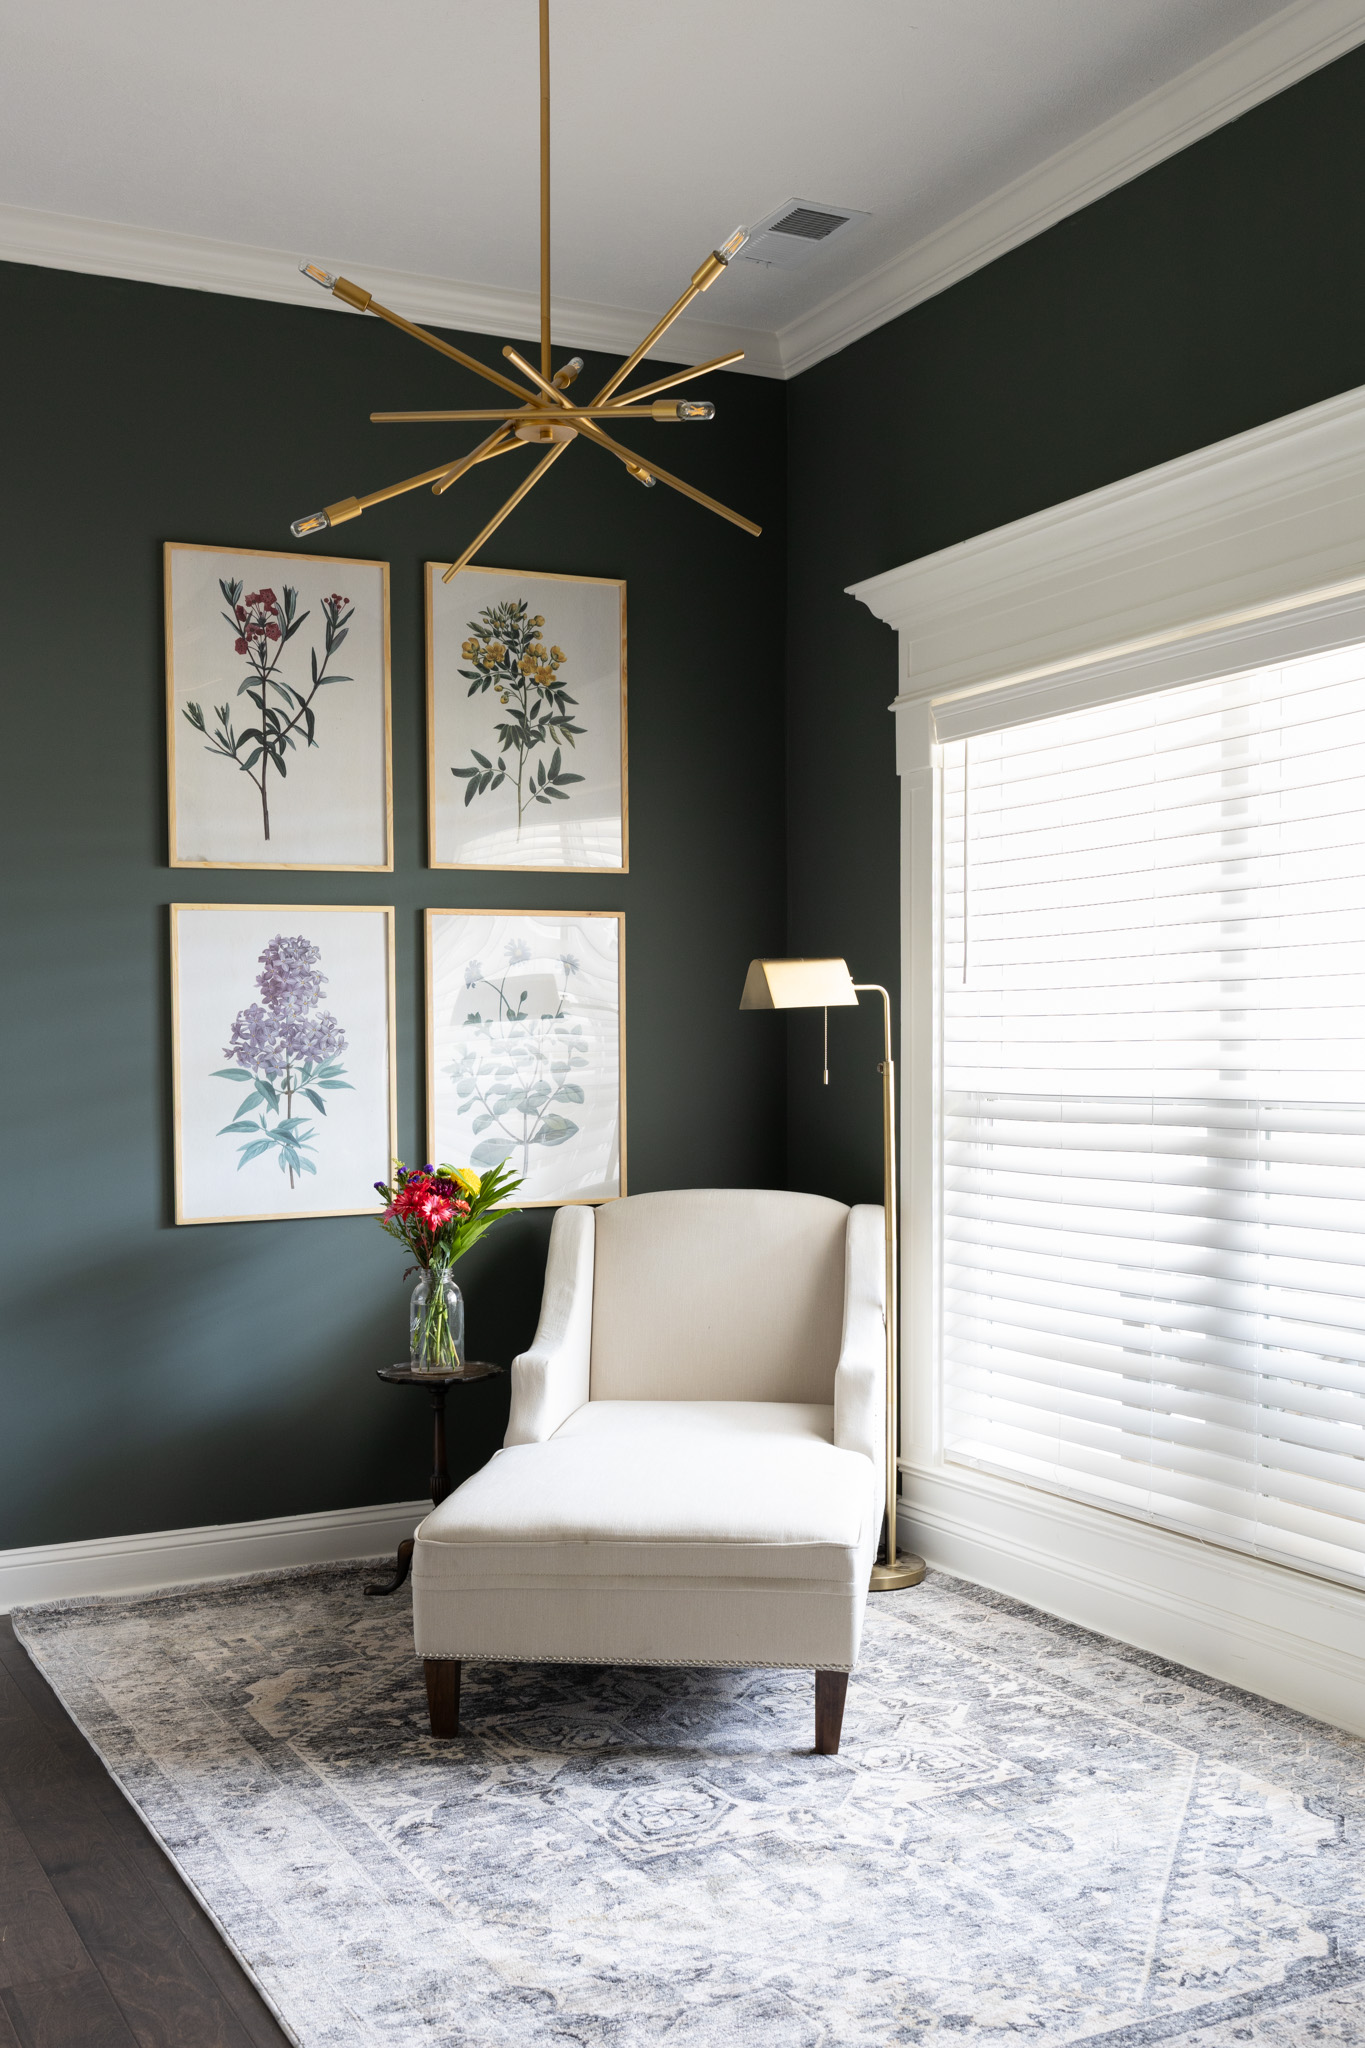
So now that I have a fabric, what am I going to do with it? I will post a couple inspiration photos below. Sources unknown.

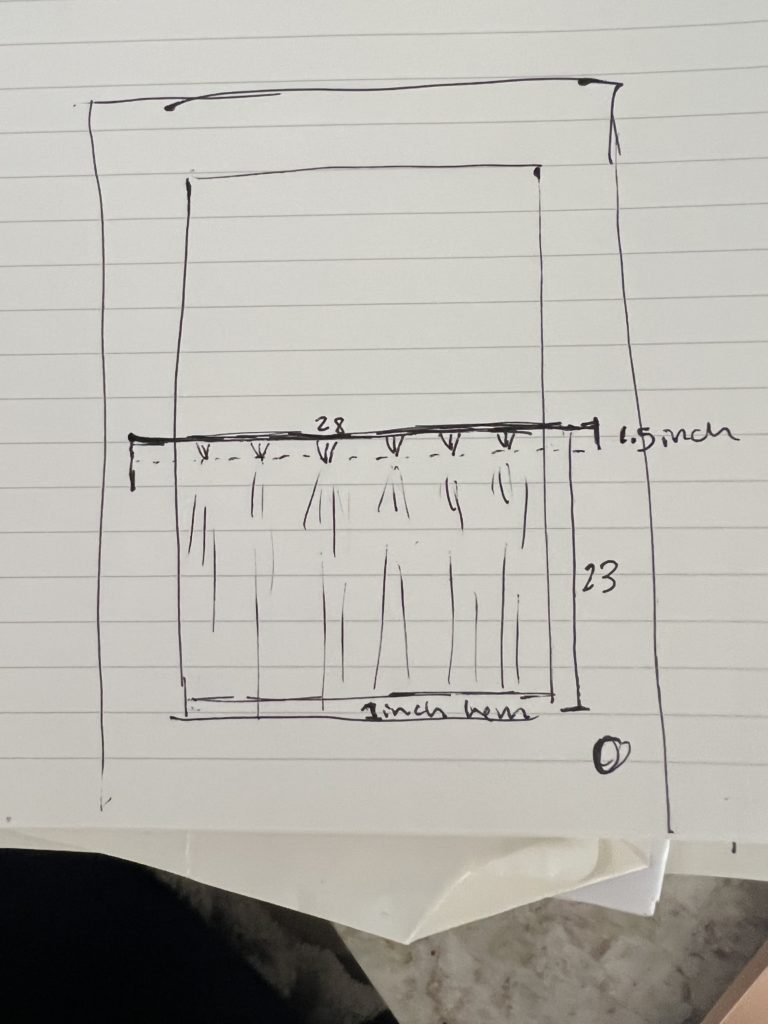
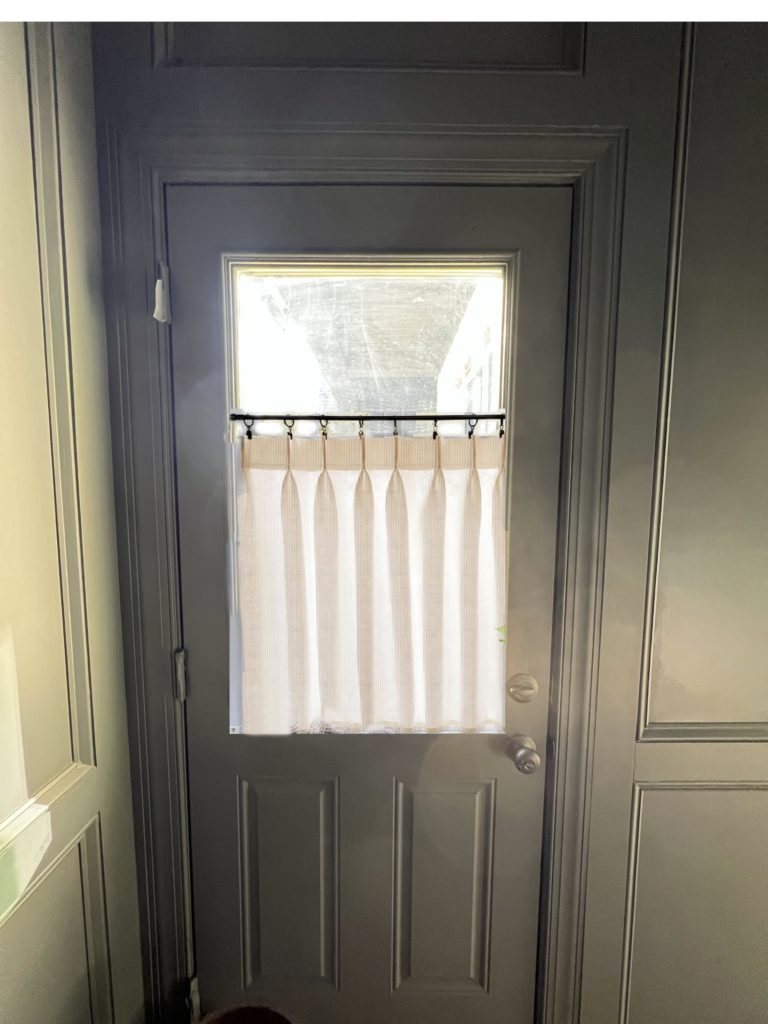
I decided on this cafe curtain type look for all the reasons listed above, privacy without the expense of sacrificing natural light. The plantation shutter was so bulky. With this look, it adds a bit of softness to the space that I think it’s missing. I am still undecided on adding some sort of valance to the top part of the window. I’ll keep you posted! Here is a very rough mock up with our fabric that I decided to try on in photoshop.
Price Breakdown
- Unlacquered brass custom curtain rod: $37.
- 2 Yards of fabric: $24 including shipping.
- Total Cost: $61
AND THEN PLOT TWIST
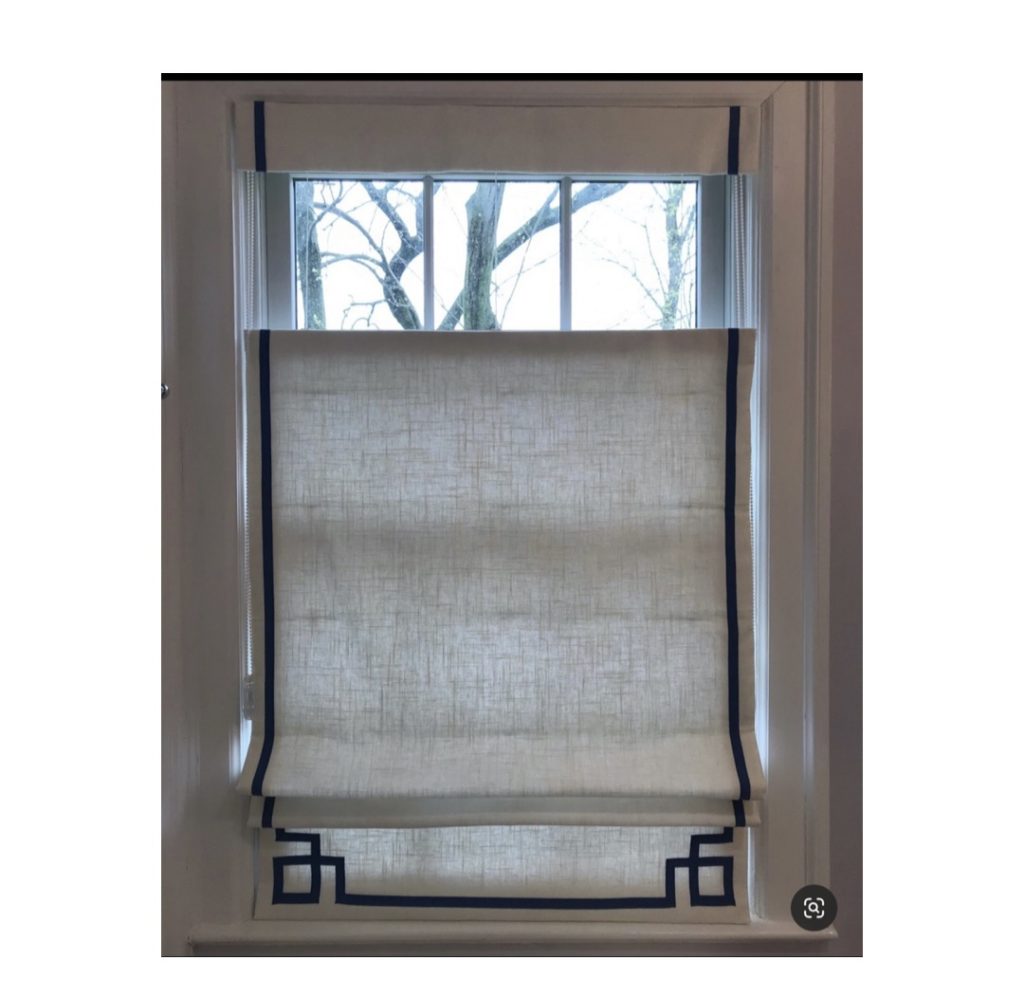
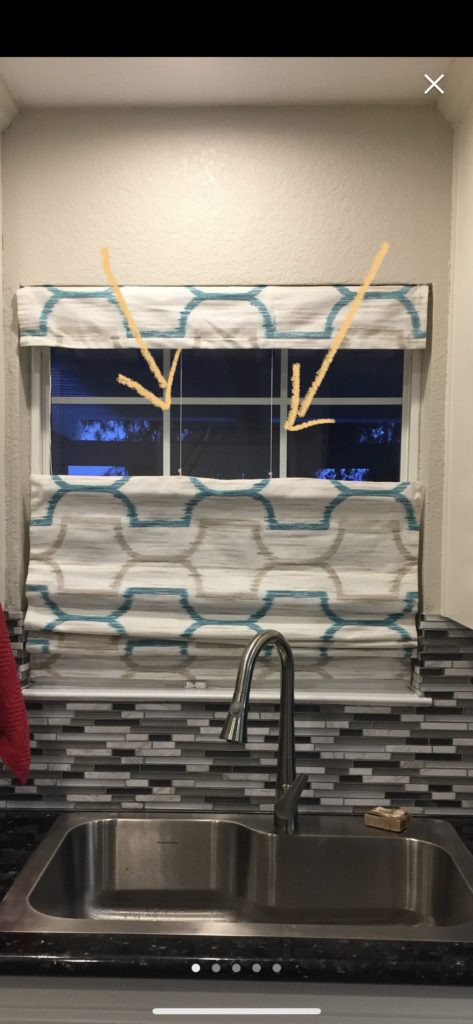
Did I tell you that after purchasing the materials for this, I stumbled upon something else I could do in here? It’s called top down bottom up (TDBU) roman shades. Basically the top part of the roman shade can pull down allowing natural light to flow in. And I think the bottom part of the shade can be adjusted up to the height you want. Will actually liked this idea better at first when I showed this to him, BUT we decided not to go with it because 1) I already purchased the curtain material and curtain rod. 2) We already have roman shades in the laundry room and he said it would be neat to do something different. 3) With the TDBU shades, you can still see the string connecting them. I’ll show a picture below. The etsy seller did say these could be moved to the sides, but even if they were, they would be too distracting against our dark walls. 4) More expensive.
So ultimately we decided to stick with our initial plans and I’m glad for it. This look adds a bit of softness to the space that I think is missing. I have loved the look of cafe curtains and since we don’t have any windows in our kitchen, here’s my chance to use them! I think if I had any advice to give you when window treatment shopping is don’t sweat the small stuff! Seriously sometimes I get so caught up in the details that I lose track of the fact that IT’S JUST A WINDOW! And if it looks bad and I failed, so what? I learned from it. It cost me roughly $60 in materials. But I have a strong feeling that I’m going to like it! 🙂
SHOP MY POST

CLASSIC WINDOW TREATMENT OPTIONS
SHOP HERE

Leave a Reply
Where we discuss all things design, obviously.
DESIGN
Browse Category
For more of our latest projects, follow along on instagram at @hayden_interiors
© Hayden interiors 2021 | design & Photos by Sara Hayden
Intentional Design for Beautiful Spaces
Jackson, Tennessee
[…] Our Powder Bathroom Window Treatments Powder Bathroom Progress: Paint + Bonus Vanity Sneak Peak Powder Bathroom Progress: How We Chose Our Marble Floors […]