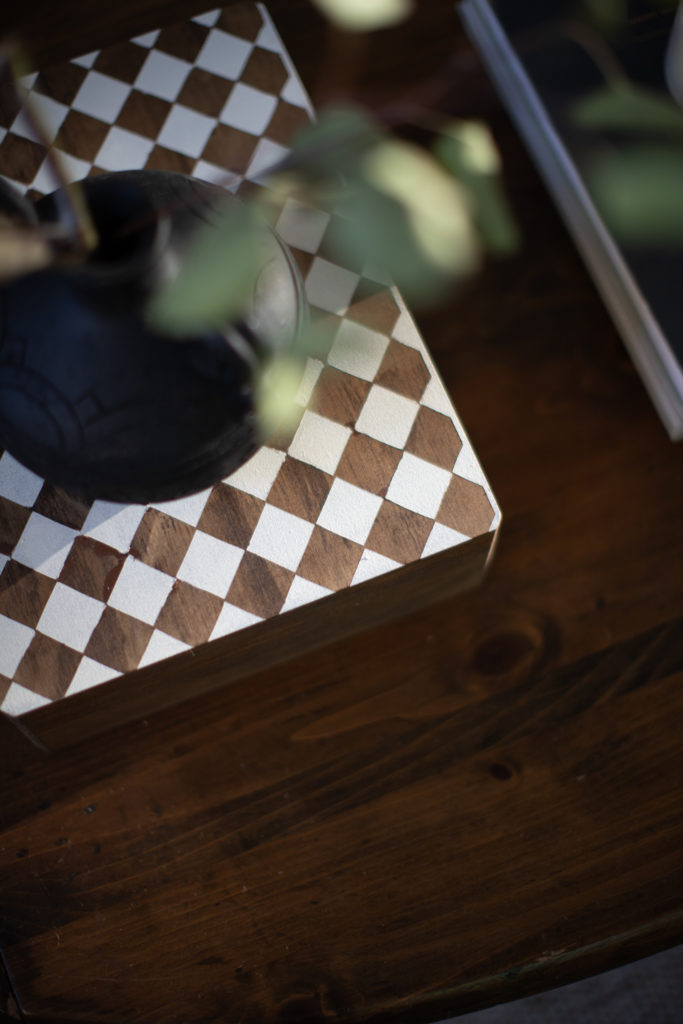
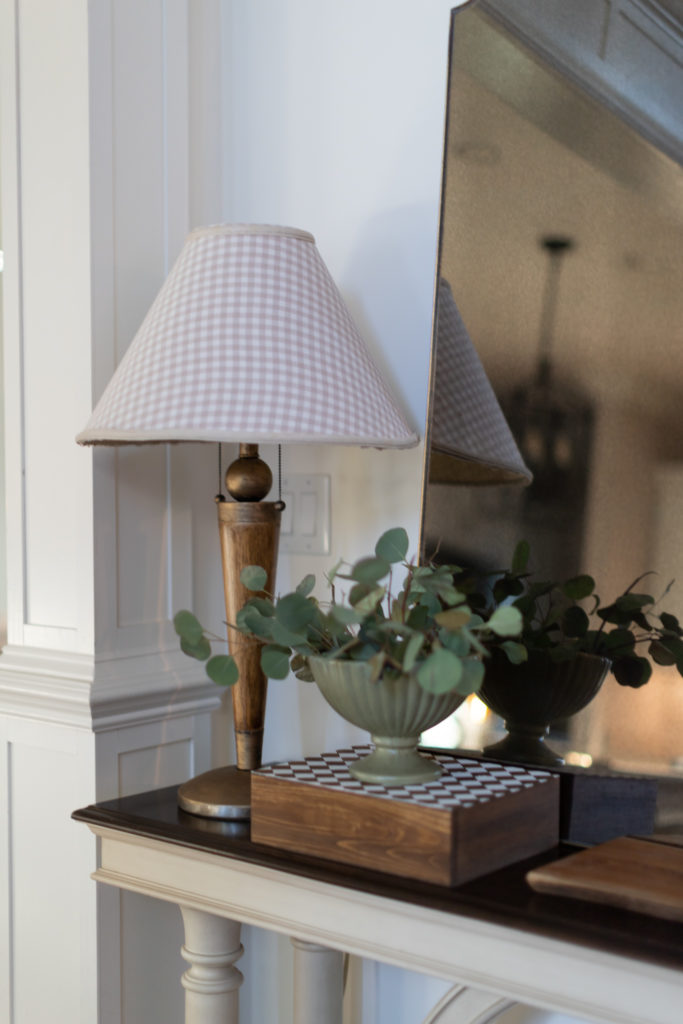
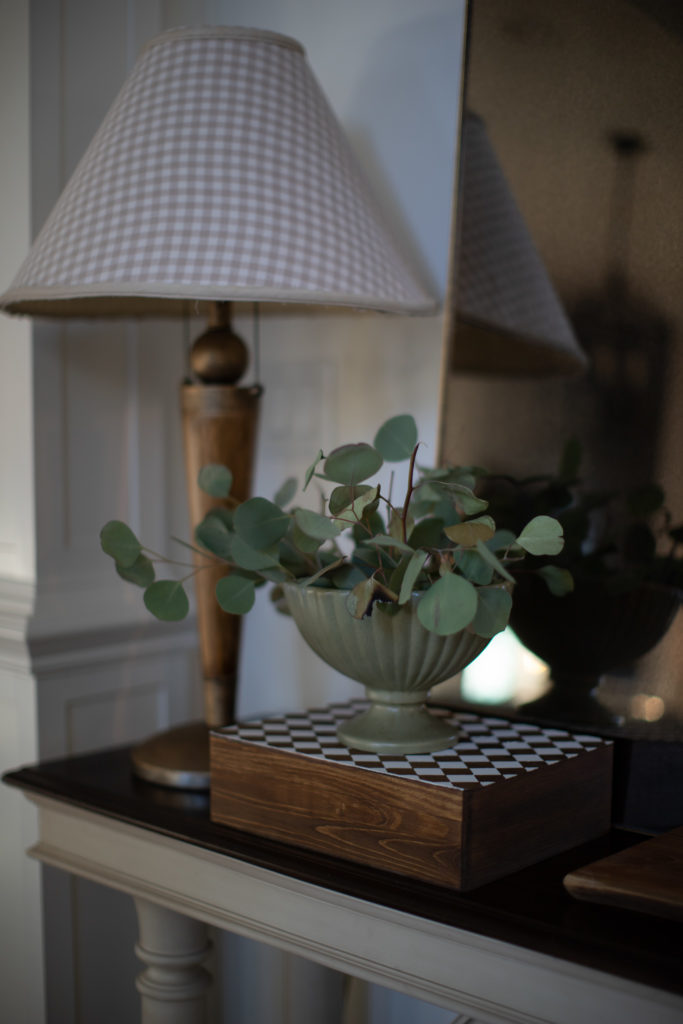
DIY checkerboard decor box. Sometimes when I’m in the middle of another project I’ll get these ideas that spark into something else and that is exactly how I got this idea for this checkerboard decor box. This is a great project if you want quick results and high impact without a lot of work or money.
MATERIALS:
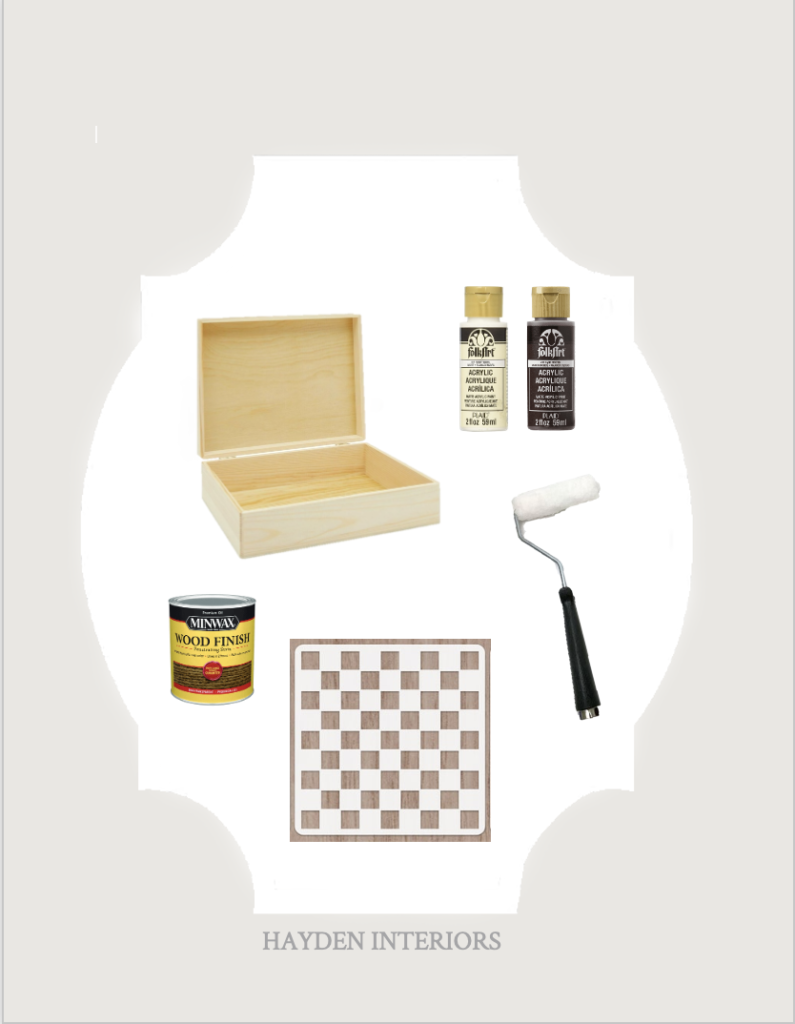
- One unstained jewelry box
- small 4 inch roller with ⅜ in nap
- ivory white acrylic paint
- wood stain: (i chose provincial)
- not pictured above: paint to match your stain
- checkerboard stencil (can be purchased off etsy or made using cricut) Message me if you’d like my file!
SHOP SUPPLIES HERE
Disclaimer: This post contains affiliate links. I may receive a small comission for purchases made through these links at no extra cost to you. Just click on the bold links.
STEP ONE:
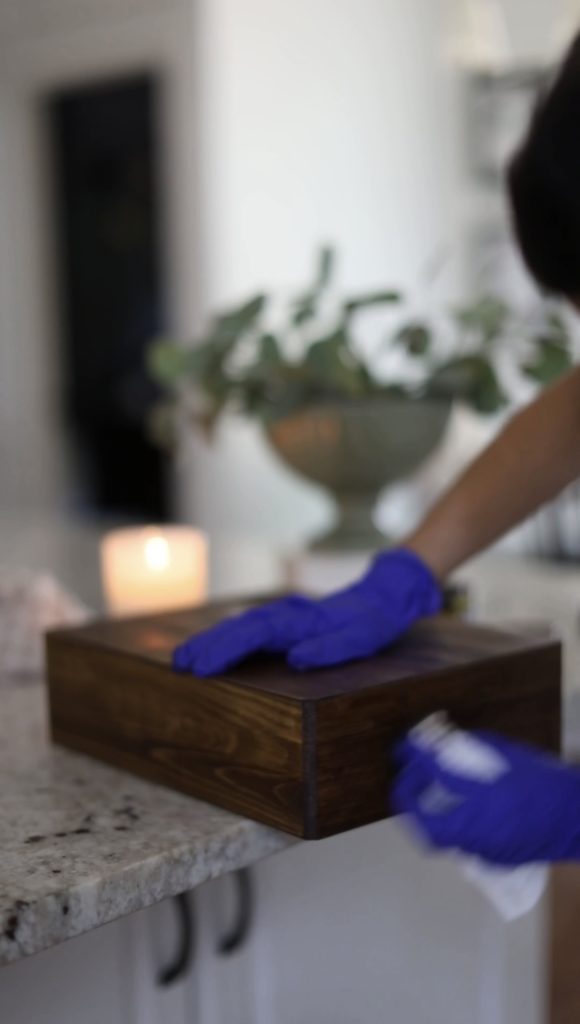
Stain your box and let dry.
STEP TWO:
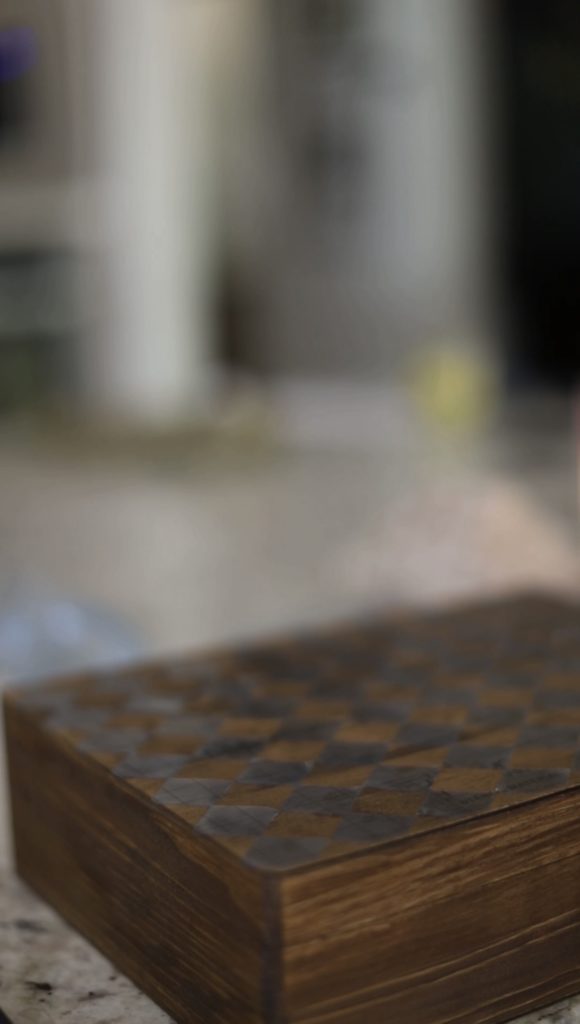
Apply the stencil. I used my cricut to cut the shape out and then applied the stencil to my box. It has a sticky side so I didn’t have to worry about it moving around on me. I have linked a few etsy stores here. Just read the description to see whether it’s a sticker type stencil or just a regular stencil. If it doesn’t have a sticky side, you may end up with more bleed marks, but it is certainly still doable.
STEP THREE:
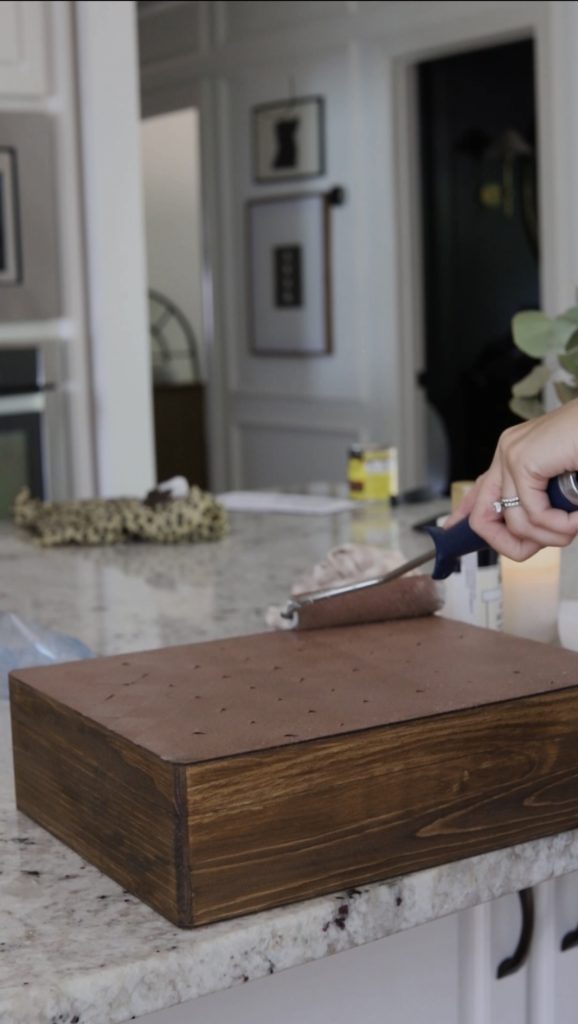
Apply first coat of paint in the same color as your stain. This will allow the bleed marks to be unnoticeable in the end because the bleed marks will be the same color as your stain!
STEP FOUR:
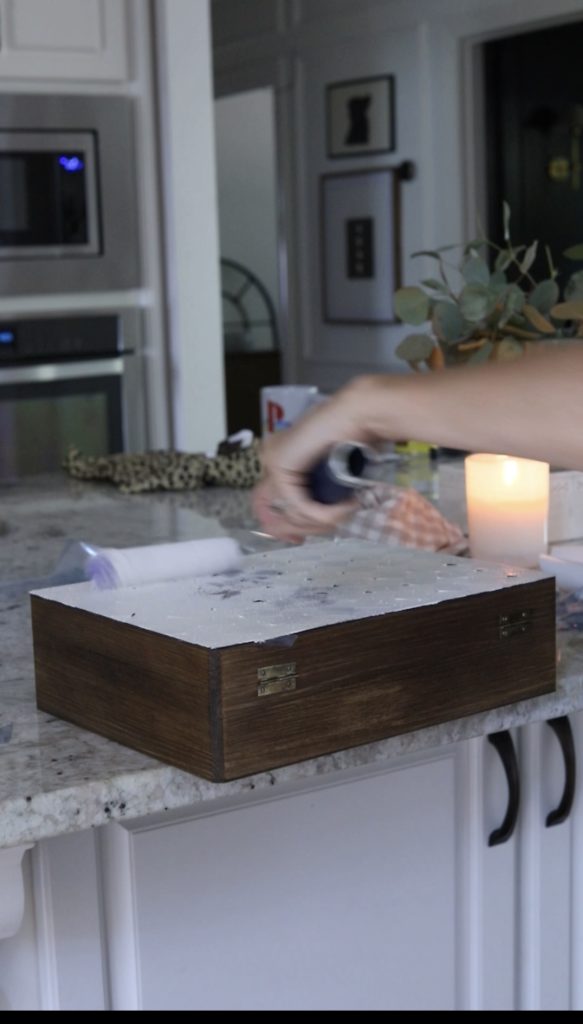
Allow that to draw about 1 hour and then apply the top coat color. I used ivory white and love that it’s warm and not too stark.
STEP FIVE:
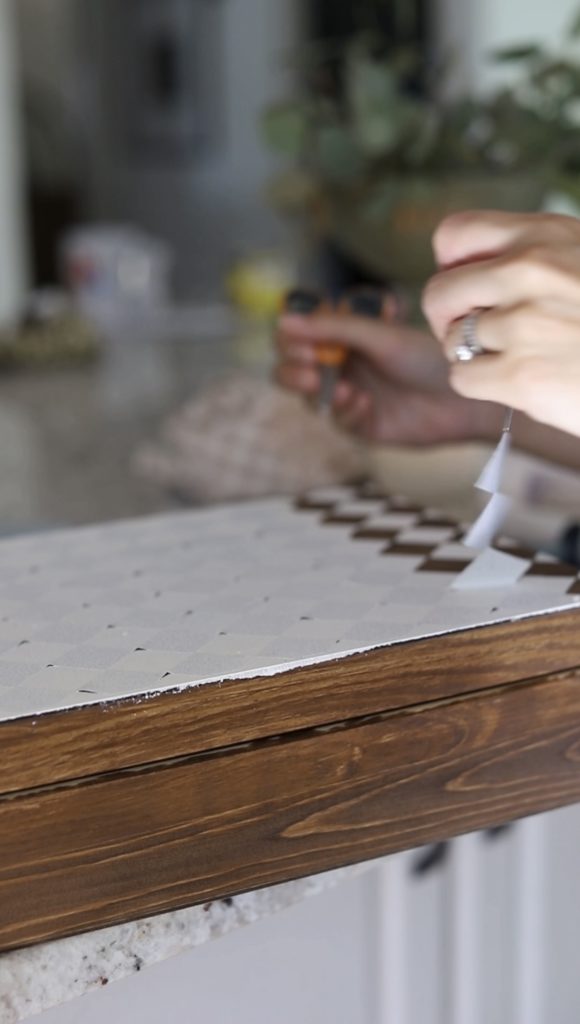
Take off your stencil and admire your work!
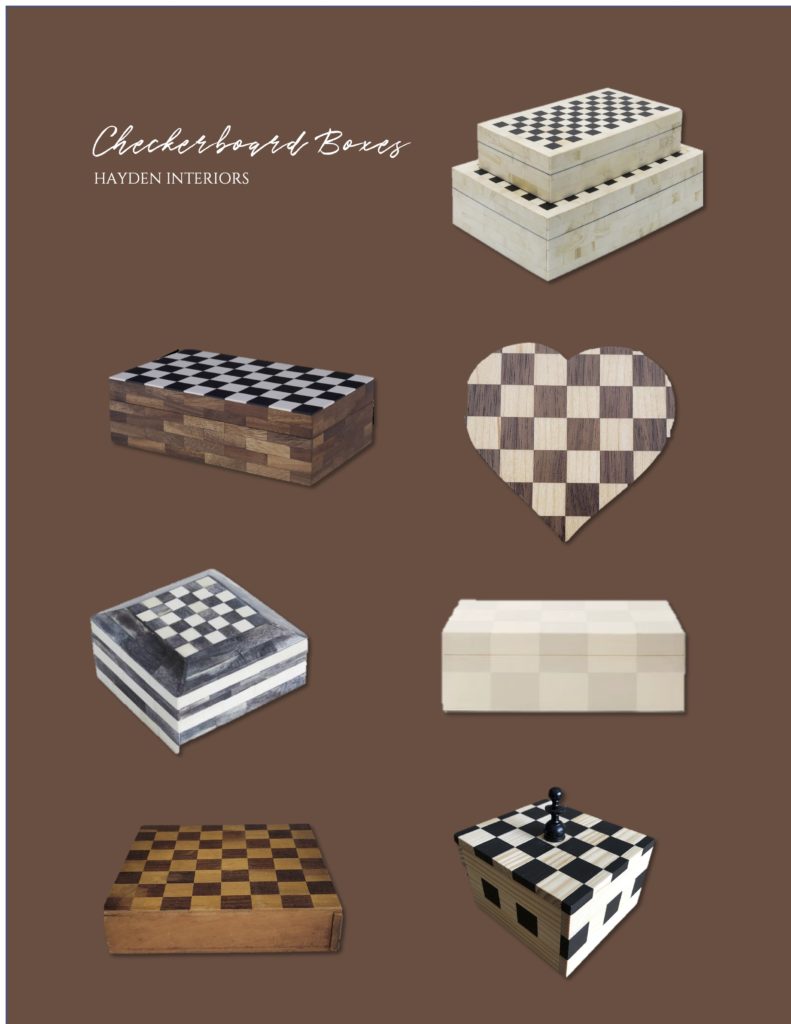
SHOP CHECKERBOARD BOXES HERE
Disclaimer: This post contains affiliate links. I may receive a small comission for purchases made through these links at no extra cost to you. Just click on the bold links.
Where we discuss all things design, obviously.
DESIGN
Browse Category
For more of our latest projects, follow along on instagram at @hayden_interiors
© Hayden interiors 2021 | design & Photos by Sara Hayden
Intentional Design for Beautiful Spaces
Jackson, Tennessee

+ Show / Hide Comments
Share to: