When I was blessed with the opportunity to be able to host multiple baby showers for several friends in one year, I decided I wanted to start finding ways that could bless the mama to be in ways that meant as little waste as possible for me. This is how I ended up with the idea for these DIY TABLETOP CLOTHES HANGERS. They make the perfect decor staple because you can essentially set it anywhere, it stores away nicely and the best part? The mother to be goes home with a beautiful dress picked just for her baby. What better way to remember this beautiful time and beautiful baby in her life?
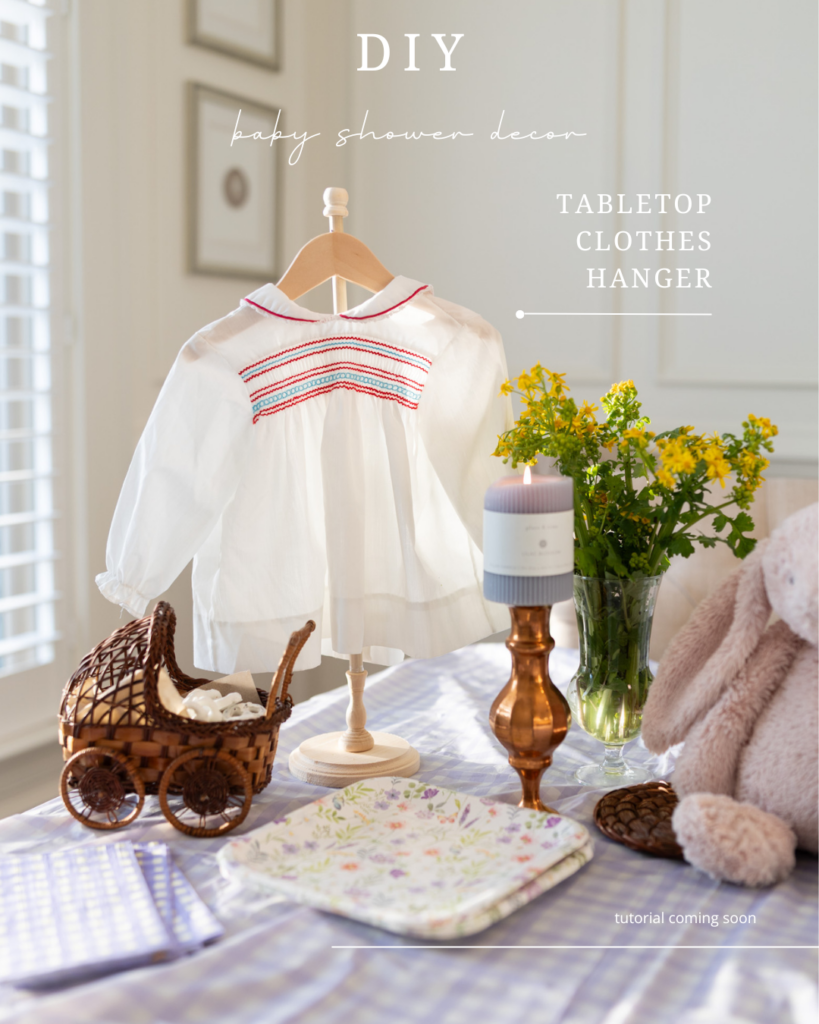
It actually comes together very quickly and easily using minimal tools. And if you have the wooden clothes hanger already, the total cost of this project will be $15 for 2 stands!! Talk about a deal!! The only tools you will need for this project are:
TOOLS:
- drill
- screwdriver
- knife or saw for cutting the dowel
- ruler (optional)
- pen
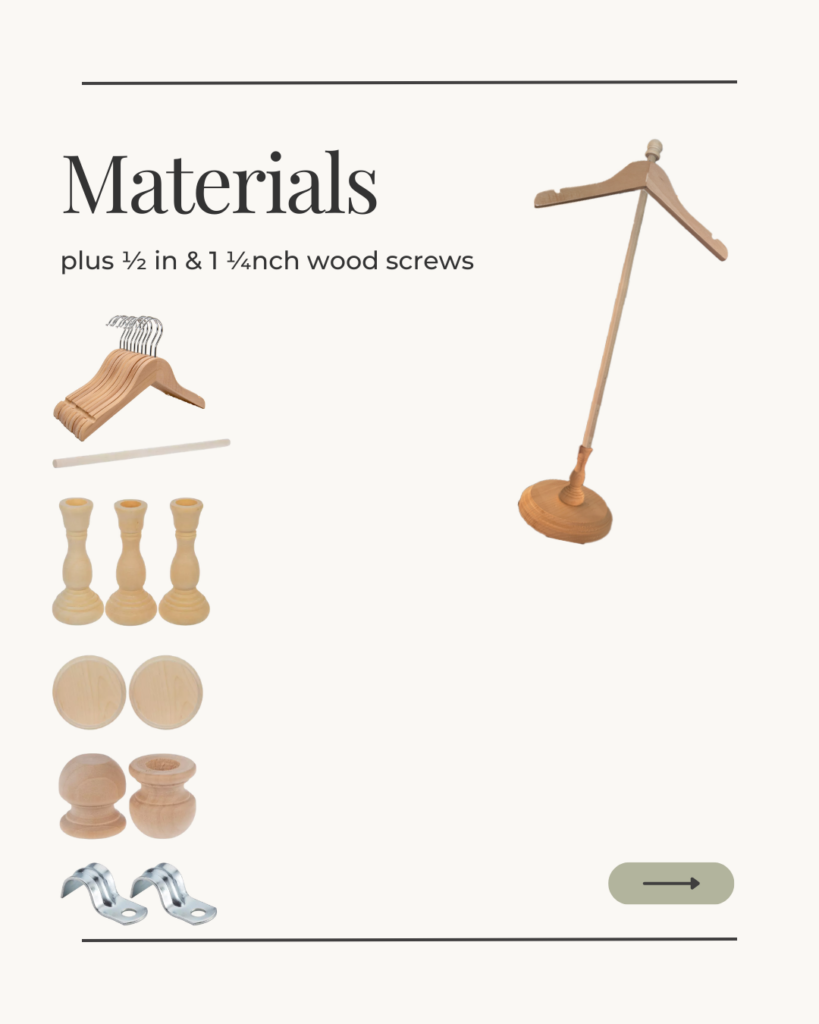
Here are the materials you will need:
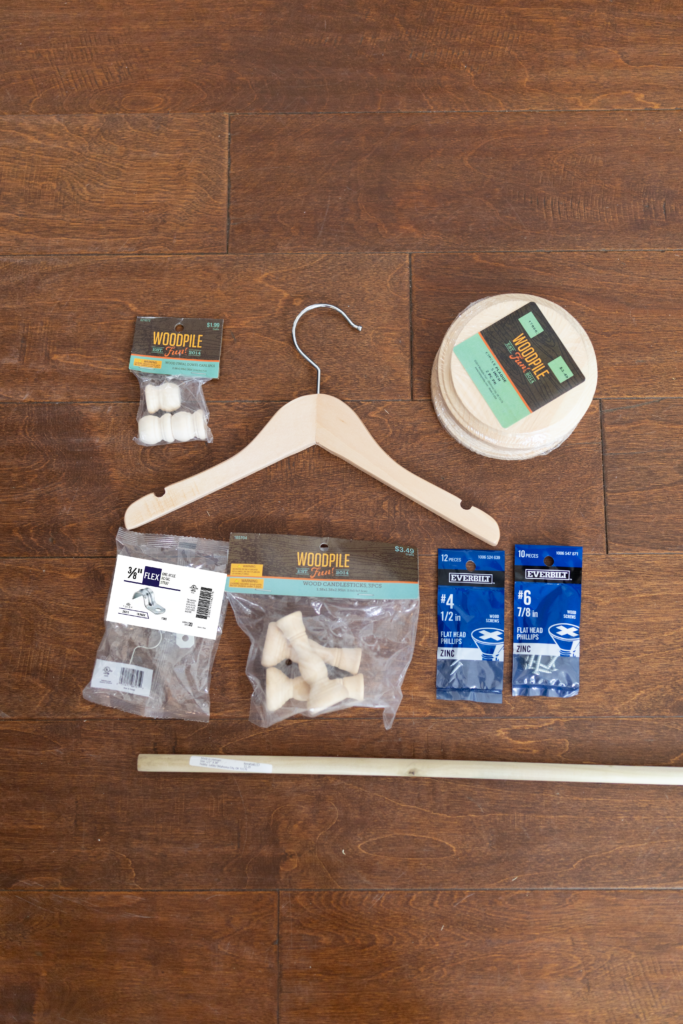
- children’s wooden clothes hanger
- wooden round plaques
- wooden candlestick holders
- wooden dowel caps
- ½ inch wooden dowel
- ½ inch wooden screws (2)- #6 ½ in. NOT #4 as seen in picture
- 1 ¼ in wooden screws (1)- use 1 ¼ in or larger NOT ⅞ as seen in picture
- 3/8 in. Flexible Metal Conduit (FMC) 1-Hole Conduit Straps (10-Pack)
The metal conduit is the missing piece to the puzzle! I walked around home depot one day carrying the hanger and the dowel trying to find the perfect piece that would make this come together. I was looking for a one piece solution and realized they didn’t have the size I needed to fit the dowel (everything was too big). So I ended up finding these metal conduit 1 hole straps and just using 2 of them (in alternating directions) to keep the dowel from leaning sideways. (Refer to video).
Watch tutorial here:
One thing I forgot to get on video was how I got the metal hanger part off of the hanger. You could use bolt cutters but I just twisted back and forth until it broke. HAHA!
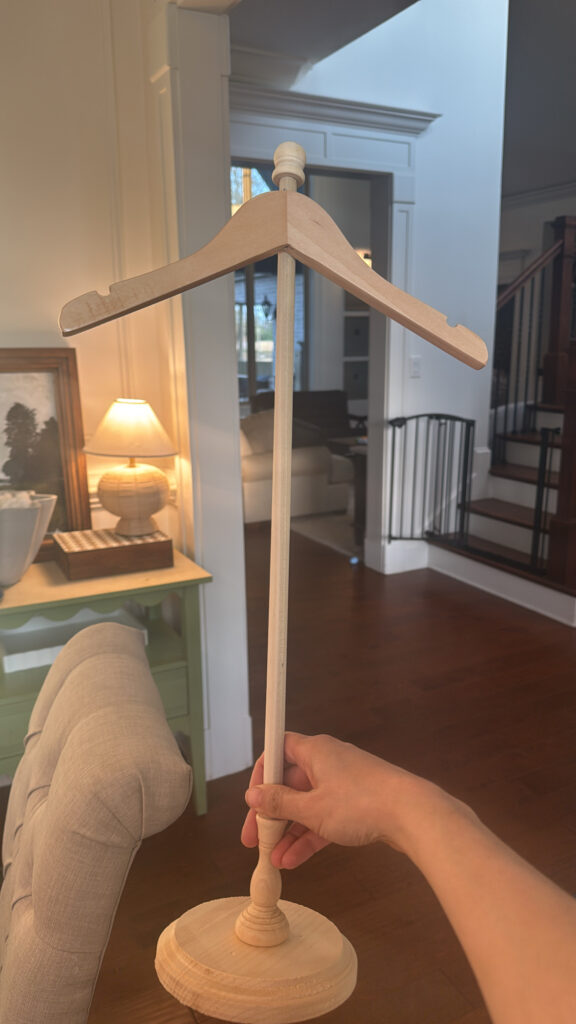
There was some MINOR wiggling to the base but I just taped a piece of tape around the base of the dowel where it was still hidden inside the candlestick and you’d never know it. You can use hot glue or even construction adhesive to the inside of the candlestick to attach the dowel and dowel caps permanently if you don’t plan on taking it apart for storage.
We have used this for birthdays, baby showers, and celebrations of life. There is no end to the possibilities these could be used for and I hope it saves you lots of money. If this feels like too much for you, you can also purchase them here.
SHOP THIS POST

Where we discuss all things design, obviously.
DESIGN
Browse Category
For more of our latest projects, follow along on instagram at @hayden_interiors
© Hayden interiors 2021 | design & Photos by Sara Hayden
Intentional Design for Beautiful Spaces
Jackson, Tennessee

+ Show / Hide Comments
Share to: